Settings
Settings control system-wide behaviour in xAssets, including depreciation rules, disposal processing, discovery, integrations, authentication, and many other functions. This page explains how to navigate, view, and edit settings.
Prerequisites
- You must be a Configuration User to create, delete, or change the data type of a setting.
- Standard administrators can change setting values but not their structure.
Accessing Settings
Navigate to Admin > Settings to open the Settings screen.
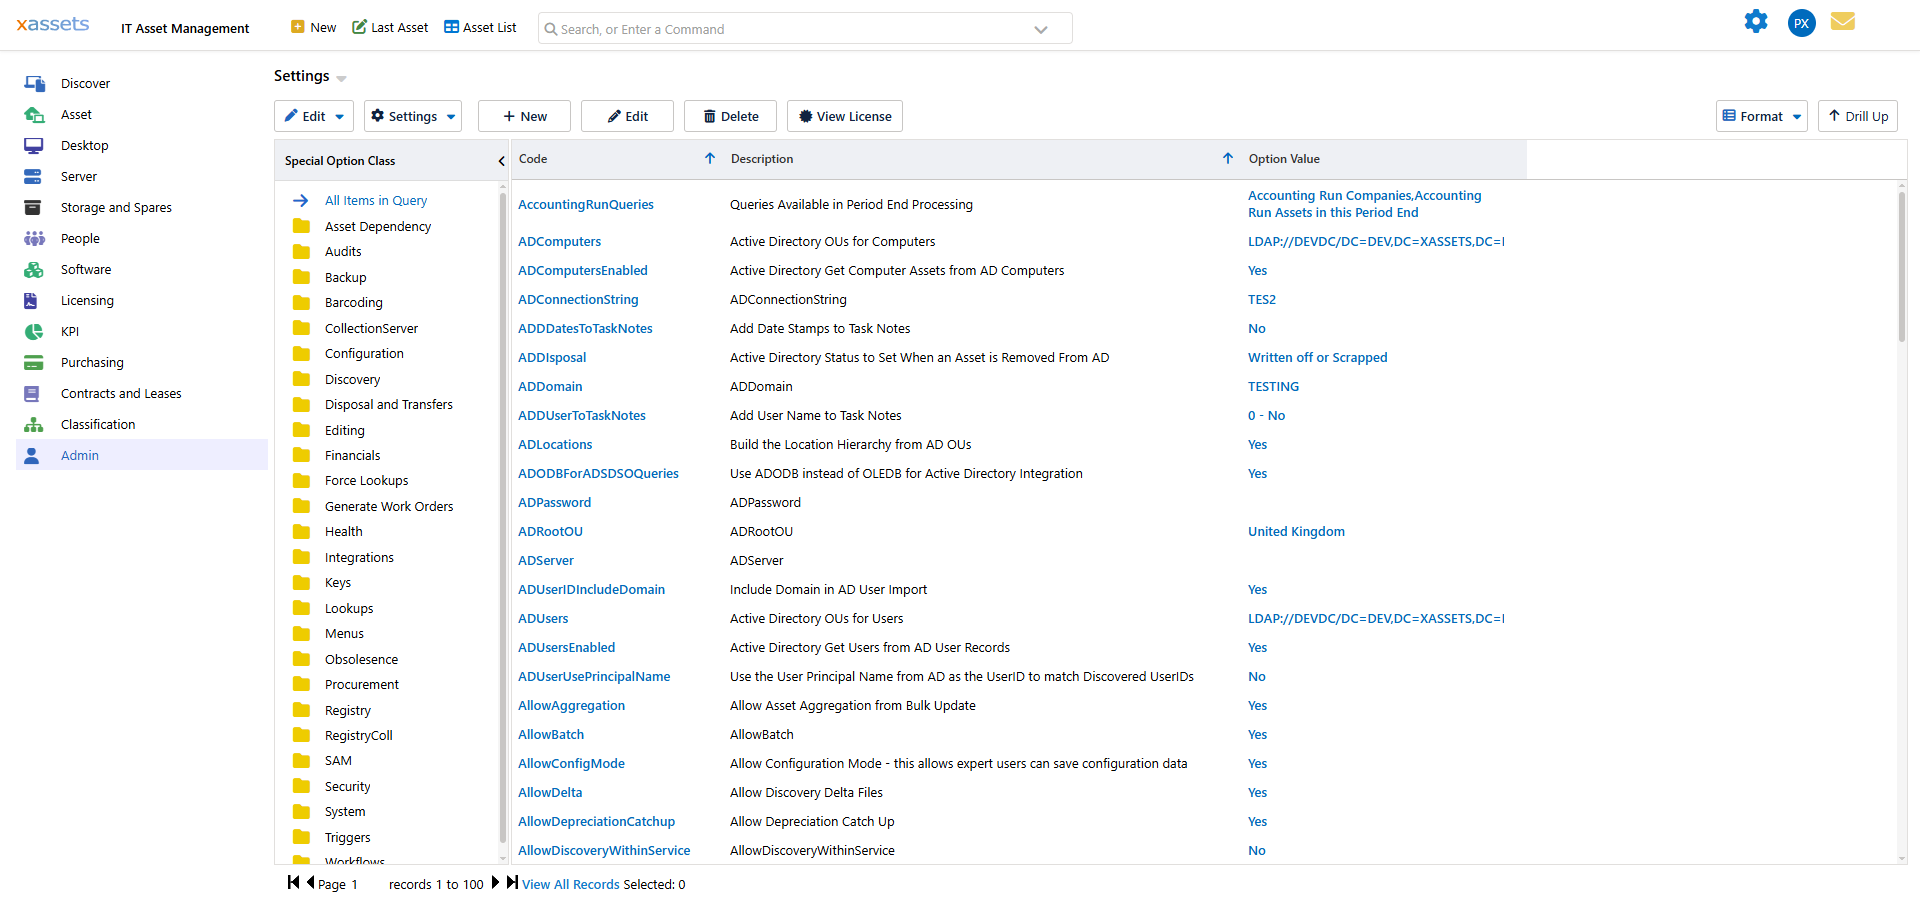
Navigating the Settings Screen
The screen has two sections:
- Tree on the left -- groups settings by Class (e.g., Depreciation, Discovery, Authentication, Email). Click a class to filter the list to just that group.
- List on the right -- shows the settings matching the current tree selection. Each row shows the setting name, its current value, and its data type.
Use the search box above the list to find a setting by name if you know part of it.
What a Setting Contains
Each setting holds a single value. The data type of the value determines what kind of input is accepted:
| Data Type | Description | Example |
|---|---|---|
| Text | A free-text string | An email address, a file path, a server name |
| Number | A numeric value | A threshold, a count, a port number |
| Yes/No | A boolean flag | Enable or disable a feature |
| Selection | A choice from a predefined list | A mode or option |
| Pointer | A reference to a form, menu, query, or transformation | The default form to use for a particular operation |
How Settings Are Used
Settings are consumed in two ways:
- By the system directly -- the application reads certain settings at runtime to control built-in behaviour. For example, the depreciation method, the default login page, or whether Single Sign-On is enabled are all controlled by settings.
- By transformations and AMSX scripts -- custom scripts can read settings to make decisions (e.g., "only process records older than X days") or write to settings to store state between runs (e.g., "last successful sync timestamp").
Editing a Setting Value
- Navigate to Admin > Settings.
- Find the setting by browsing the tree or searching.
- Click the setting name to open the editor.
- Change the Value field.
- Click Save.
The new value takes effect immediately for most settings. Some settings (e.g., authentication-related settings) may require a browser refresh or a service restart before the change is applied.
Context Keys
Each setting can have a Context Key, which is an optional tag that allows menu items to display a filtered subset of settings. For example, a menu item might link to the Settings screen with a filter for "ActiveDirectory", showing only Active Directory integration settings. This is a convenience feature that makes it easier for administrators to find the settings relevant to a particular task.
Creating a New Setting
Configuration Users can create new settings for use in custom transformations and scripts:
- Navigate to Admin > Settings.
- Click New in the settings toolbar.
- Enter a Name, Class, and Data Type for the setting.
- Optionally set a Context Key if the setting should be included in filtered views.
- Set the initial Value.
- Click Save.
Tip: When creating settings for use in custom scripts, use a consistent naming convention and Class so they are easy to find later (e.g., Class = "Custom", Name = "MyProcess_LastRunDate").
Tips and Warnings
Tip: If you are unsure what a setting does, check its tooltip (hover over the setting name) or look for it in the relevant chapter of this guide (e.g., depreciation settings are described in the Fixed Asset Management Guide).
Warning: Changing system settings can have wide-ranging effects. Before modifying a setting you are unfamiliar with, note its current value so you can revert if needed.
Warning: Do not delete system settings that were created by the product. Deleting a system setting can cause errors if the application or a transformation expects it to exist. Only delete settings that you created yourself.
Related Articles
- Batch Jobs — some batch jobs are controlled by settings
- Single Sign-On — SSO is configured through settings
- Transformations — AMSX scripts read and write settings