SSO with OneLogin
This page provides step-by-step instructions for configuring OneLogin as the single sign-on provider for xAssets. The integration uses PKCE (Proof Key for Code Exchange) authentication, so a client secret is not required.
Prerequisites
- A OneLogin account with administrator access
- Configuration-level access to xAssets
- The SSOADMIN account created and in the Admins group (see SSO Introduction and Setup)
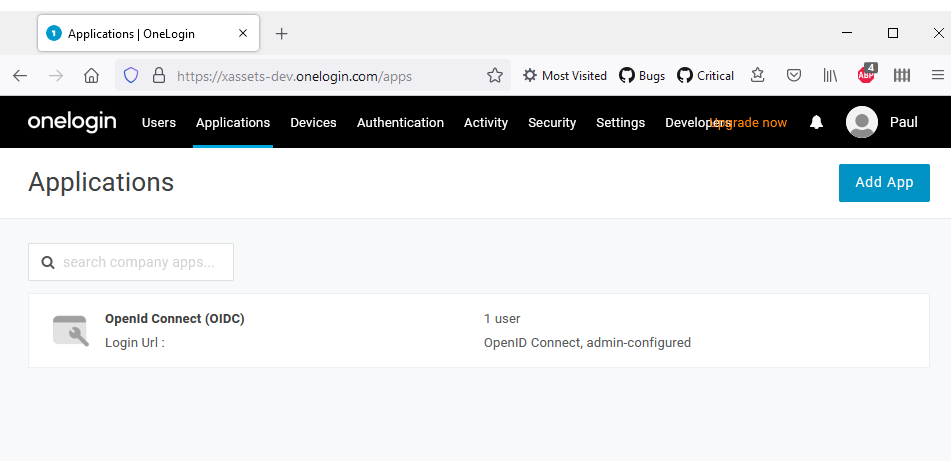
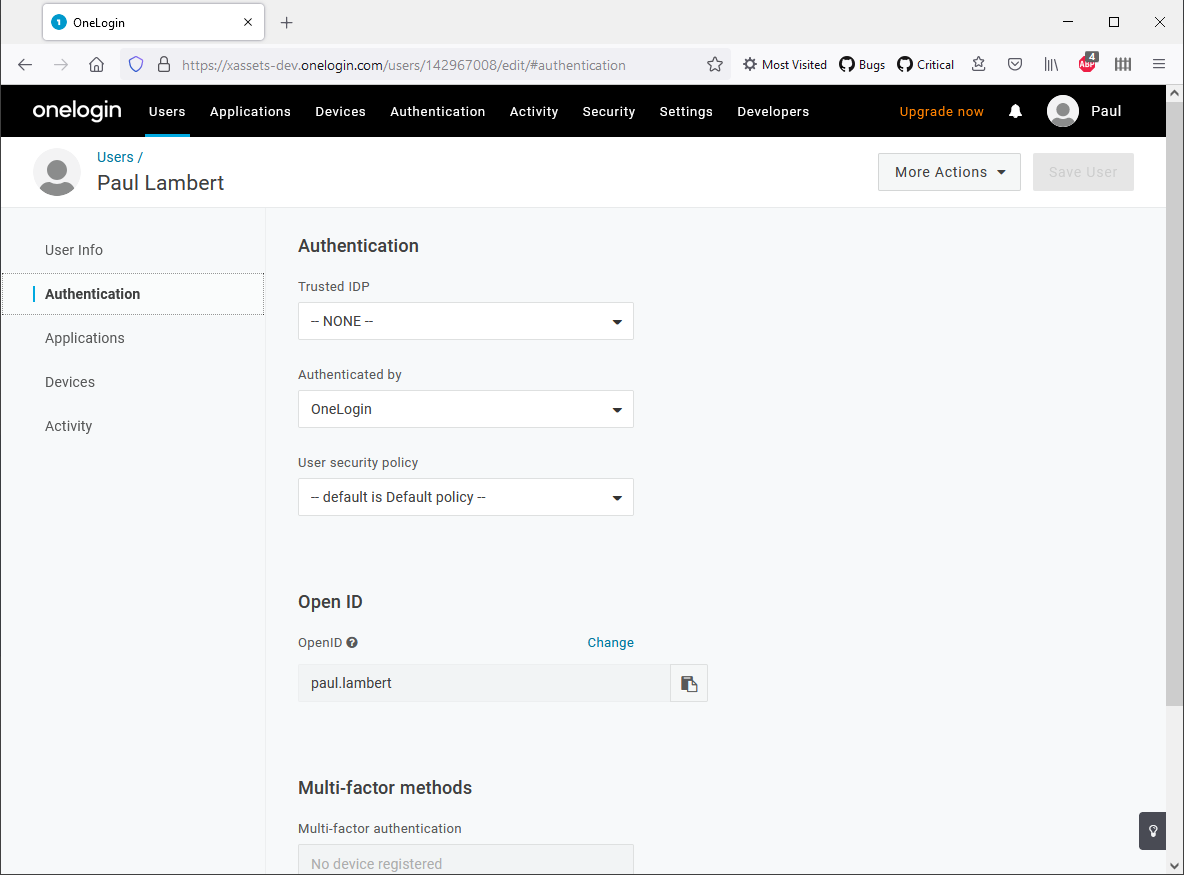
Step 1: Add the OIDC Application in OneLogin
- Log in to the OneLogin admin console
- Navigate to Applications > Add App
- Search for and select OpenId Connect (OIDC)
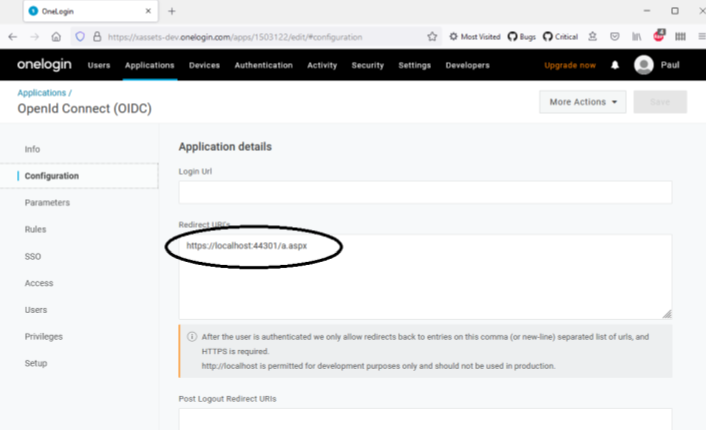
- In the application configuration, add the redirect URL:
https://mycompanyname.hostedprefixname.xassets.net/a.aspx
Replace mycompanyname with your actual xAssets instance name.
Step 2: Configure the SSO Settings
- Navigate to the SSO tab of the application
- Set the following values:
| Setting | Value |
|---|---|
| Application Type | Web |
| Token Endpoint | None (PKCE) |
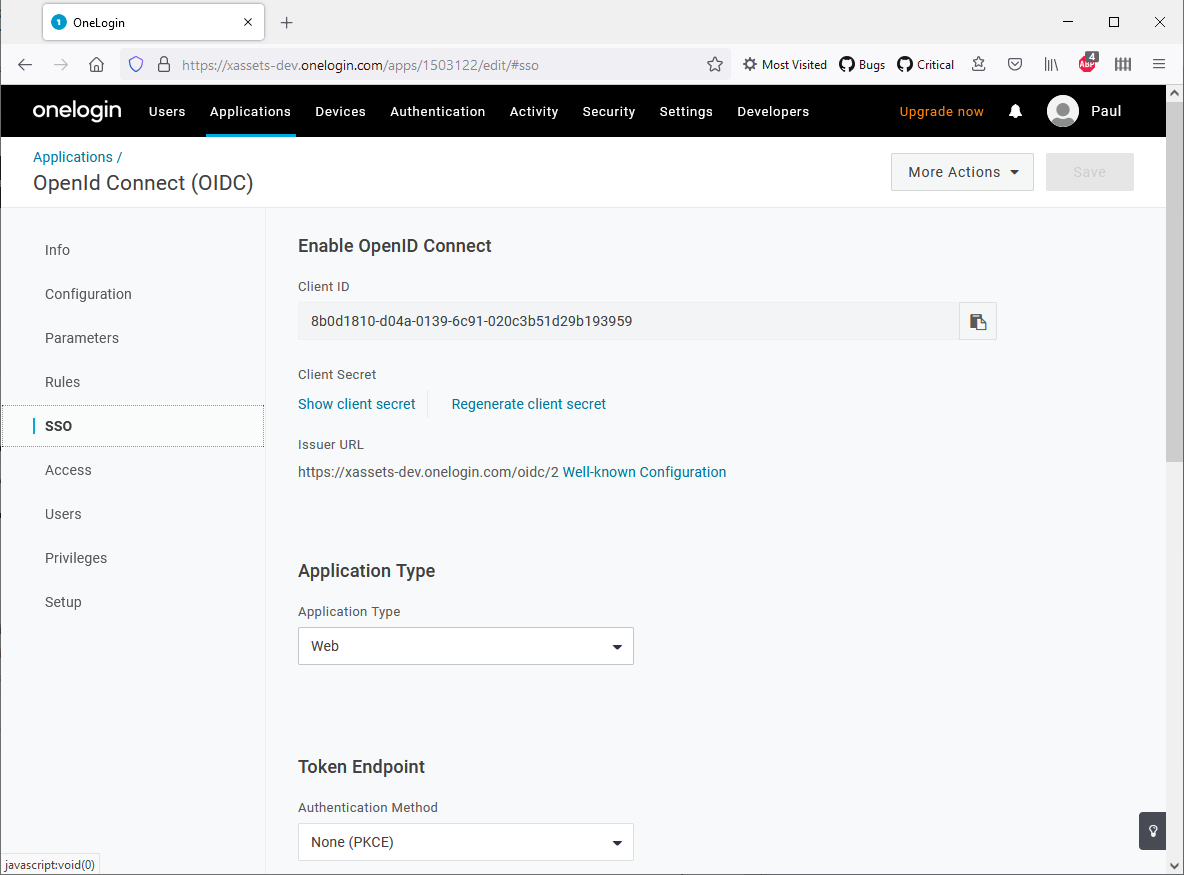
- Note the Client ID from this tab -- you will need it for the xAssets credential pack
Step 3: Assign Users
- Navigate to the Users tab of the application
- Add the OneLogin users who should be allowed to log in to xAssets

- Ensure each user has OpenID scope permissions:
Important: Users who are not assigned to the application in OneLogin will be unable to log in to xAssets, even if they have valid OneLogin credentials.
Step 4: Create a Credential Pack in xAssets
- Navigate to Discover > Prepare > Credentials (or Settings > Credentials)
- Click Create Credentials
- Configure the credential pack as follows:
| Field | Value |
|---|---|
| Pack Name | ONELOGIN-SSO |
| Domain | Your OneLogin domain (e.g., xassets-dev.onelogin.com) |
| Username | The Client ID from the SSO tab (Step 2) |
| Password | Any random value (not used with PKCE, but must not be blank) |
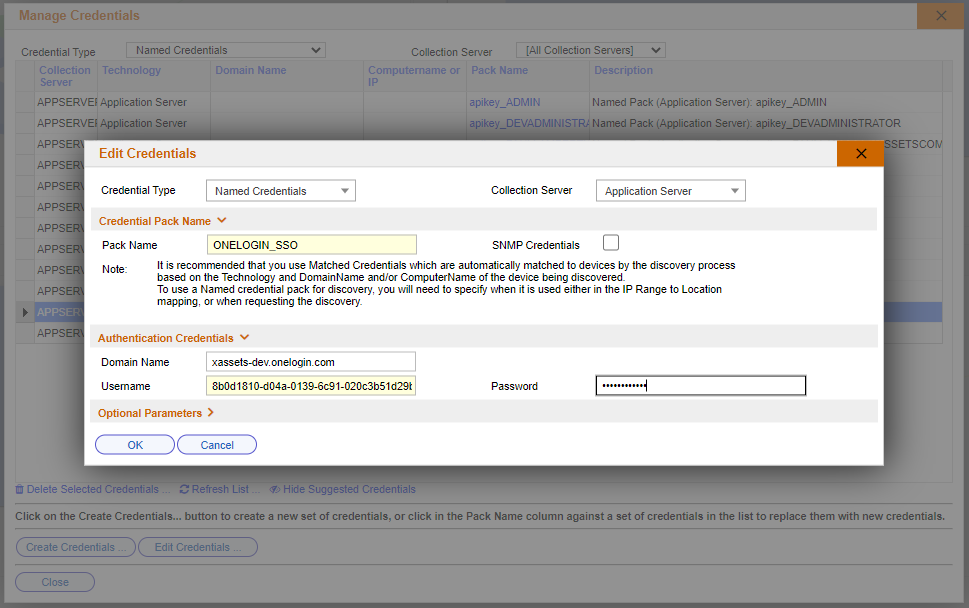
- Save the credential pack
Step 5: Set the Authentication Type
- Navigate to Admin > Settings
- Set the AUTHENTICATIONID to the OneLogin option
- Ensure the AUTHENTICATIONSCRIPT points to the Authentication.xsc script (this should be set automatically)
Step 6: Test the Login
- Open a new private/incognito browser window
- Navigate to your xAssets URL
- You should be redirected to the OneLogin login page
- After successful authentication, you should be returned to xAssets and logged in
If the login fails, see Troubleshooting. To bypass SSO for troubleshooting, add ?logondirect=direct to your xAssets URL.
Related Articles
- SSO Introduction and Setup — general SSO enablement steps
- Troubleshooting — diagnosing login failures
- Maintaining User Identities — how user records work with SSO