Bulk Update
Bulk Update lets you apply the same change to multiple assets at once -- for example, changing the location, status, or custodian of a group of assets in a single operation. This is significantly faster than editing each asset individually and ensures consistency across the updated records.
Prerequisites
- You must have permission to edit the fields you want to change.
- Select at least two assets in a results screen before starting bulk update.
How Bulk Update Works
When you open a bulk update, the editing screen shows field values as follows:
| Situation | Display |
|---|---|
| All selected assets share the same value | The shared value is shown |
| Assets have different values | The field appears blank |
| A field is left blank or unchanged | That field will not be modified on save |
This means you can safely update just one or two fields without affecting any other data on the selected assets. Only fields you actively change will be saved.
Important: Blank fields are left unchanged during a bulk update -- only fields you actively modify will be saved. To deliberately clear a field value to empty across all selected assets, type the word null (without quotes) into the field. Simply leaving a field blank will not erase existing values.
Using Bulk Update
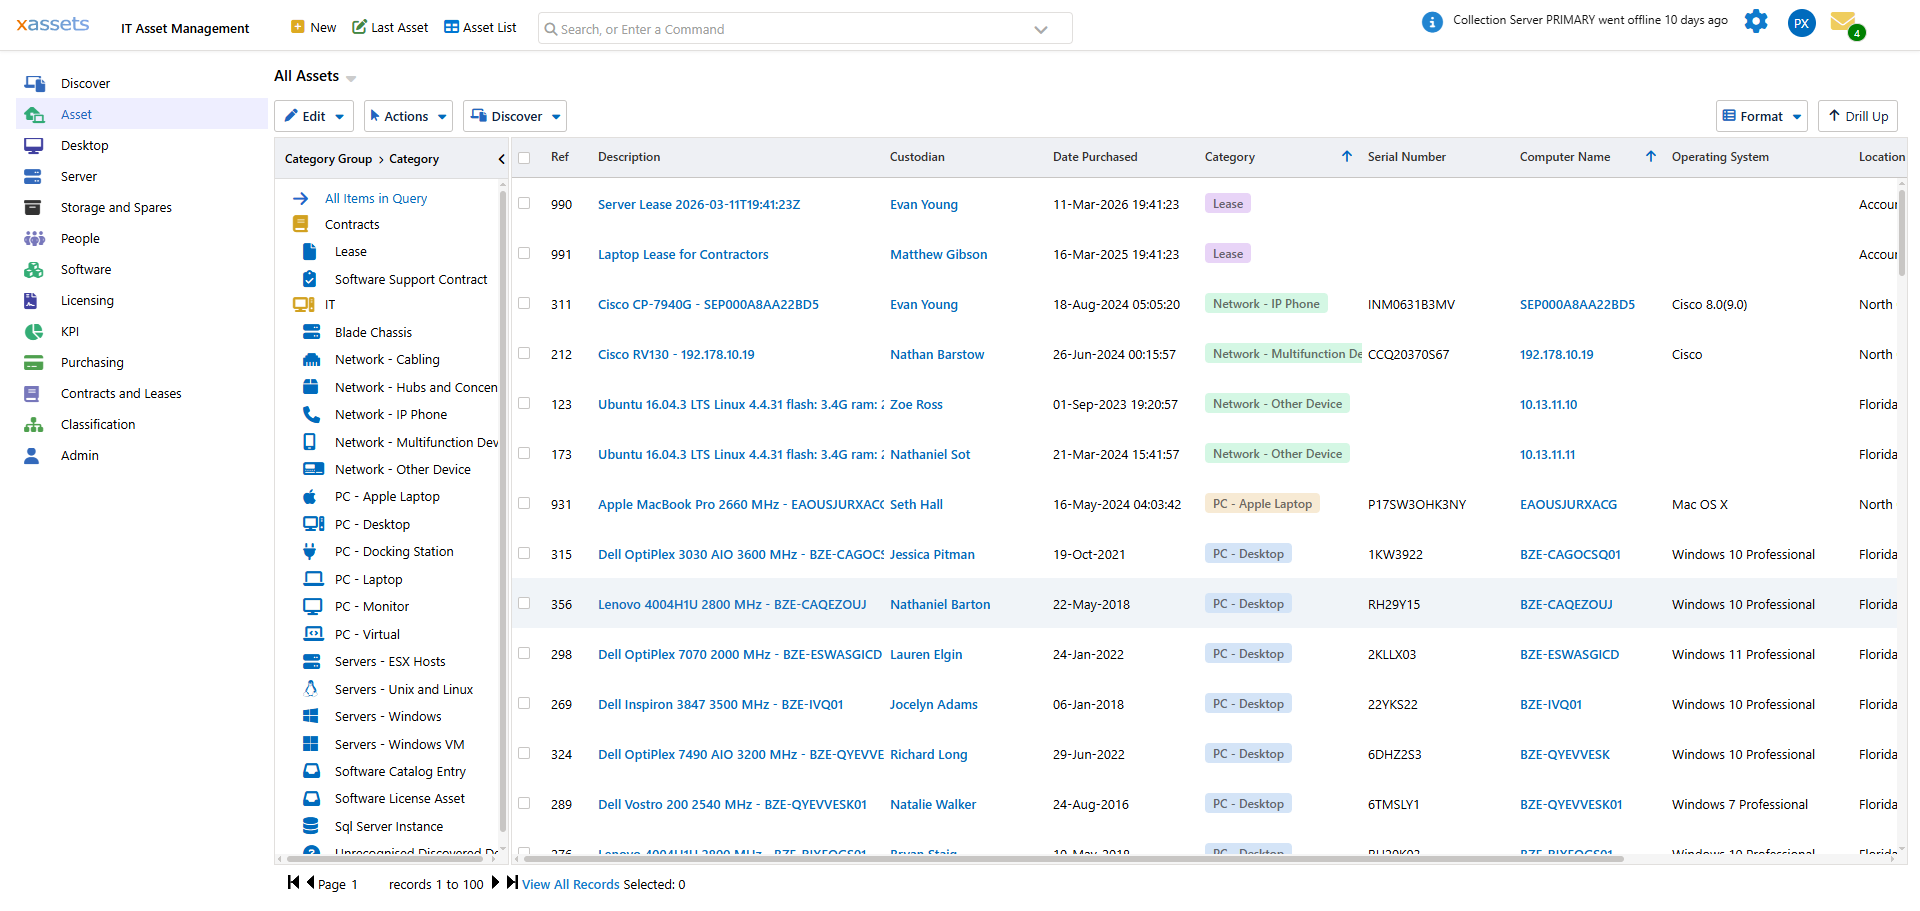
- Select the assets to update in any results screen. See Selecting Assets for selection techniques.
- Choose Bulk Update Assets in a Single Edit from the Actions on Selected Records menu.
- The asset editing screen opens in Bulk Update mode. A message near the top indicates how many assets are selected:
Review the field values:
- Category might show "PC - Laptop" if all selected assets share that category.
- Status might show "In Service" if all selected assets have the same status.
- Other fields show blank where values differ, or show the actual value where all selected assets match.
- Dropdown fields show "Not Applicable" where values differ.
Make changes to one or more fields.
Click OK to save. The system updates each selected asset with the modified fields.
Supported Tabs
Bulk update is available on multiple tabs in the asset editing screen:
| Tab | Capability |
|---|---|
| Edit Asset | Update core fields (category, status, location, custodian, etc.) |
| Specification Data | Update custom specification fields created through configuration |
| History | View only (read-only) -- shows combined history for the selected assets |
| Form-based views | Any custom form tab can be bulk-updated |
| Check In / Check Out | Update check-in and check-out status for library-style tracking |
| Financial Transactions | Post one or more transactions to each selected asset simultaneously |
| Depreciation | Edit depreciation rules for each asset in the selection |
Common Bulk Update Scenarios
| Scenario | How |
|---|---|
| Move 50 assets to a new location | Select all 50, bulk update, change the Location field |
| Set warranty end date for a batch of laptops | Select the laptops, bulk update, set the Warranty End Date |
| Change status from "On Order" to "In Service" for received equipment | Select the assets, bulk update, change Status |
| Assign a custodian to unassigned assets | Select assets with no custodian, bulk update, set the Custodian field |
| Clear a field value across multiple assets | Select assets, bulk update, type null in the field to clear it |
Tip: Bulk update is one of the most powerful features in xAssets. To use it safely, always verify your selection before opening the bulk update screen. Check the selection count in the status bar and review the highlighted rows to make sure you are updating the correct assets.
Warning: There is no undo for bulk update. If you change the wrong field or select the wrong assets, you will need to manually correct each affected record or perform another bulk update to reverse the change.
Related Articles
- Selecting Assets — how to select records for bulk update
- Editing Assets — editing individual assets
- Reclassification — overview of all methods for changing classifications
- Transfers — formal transfer operations with financial tracking