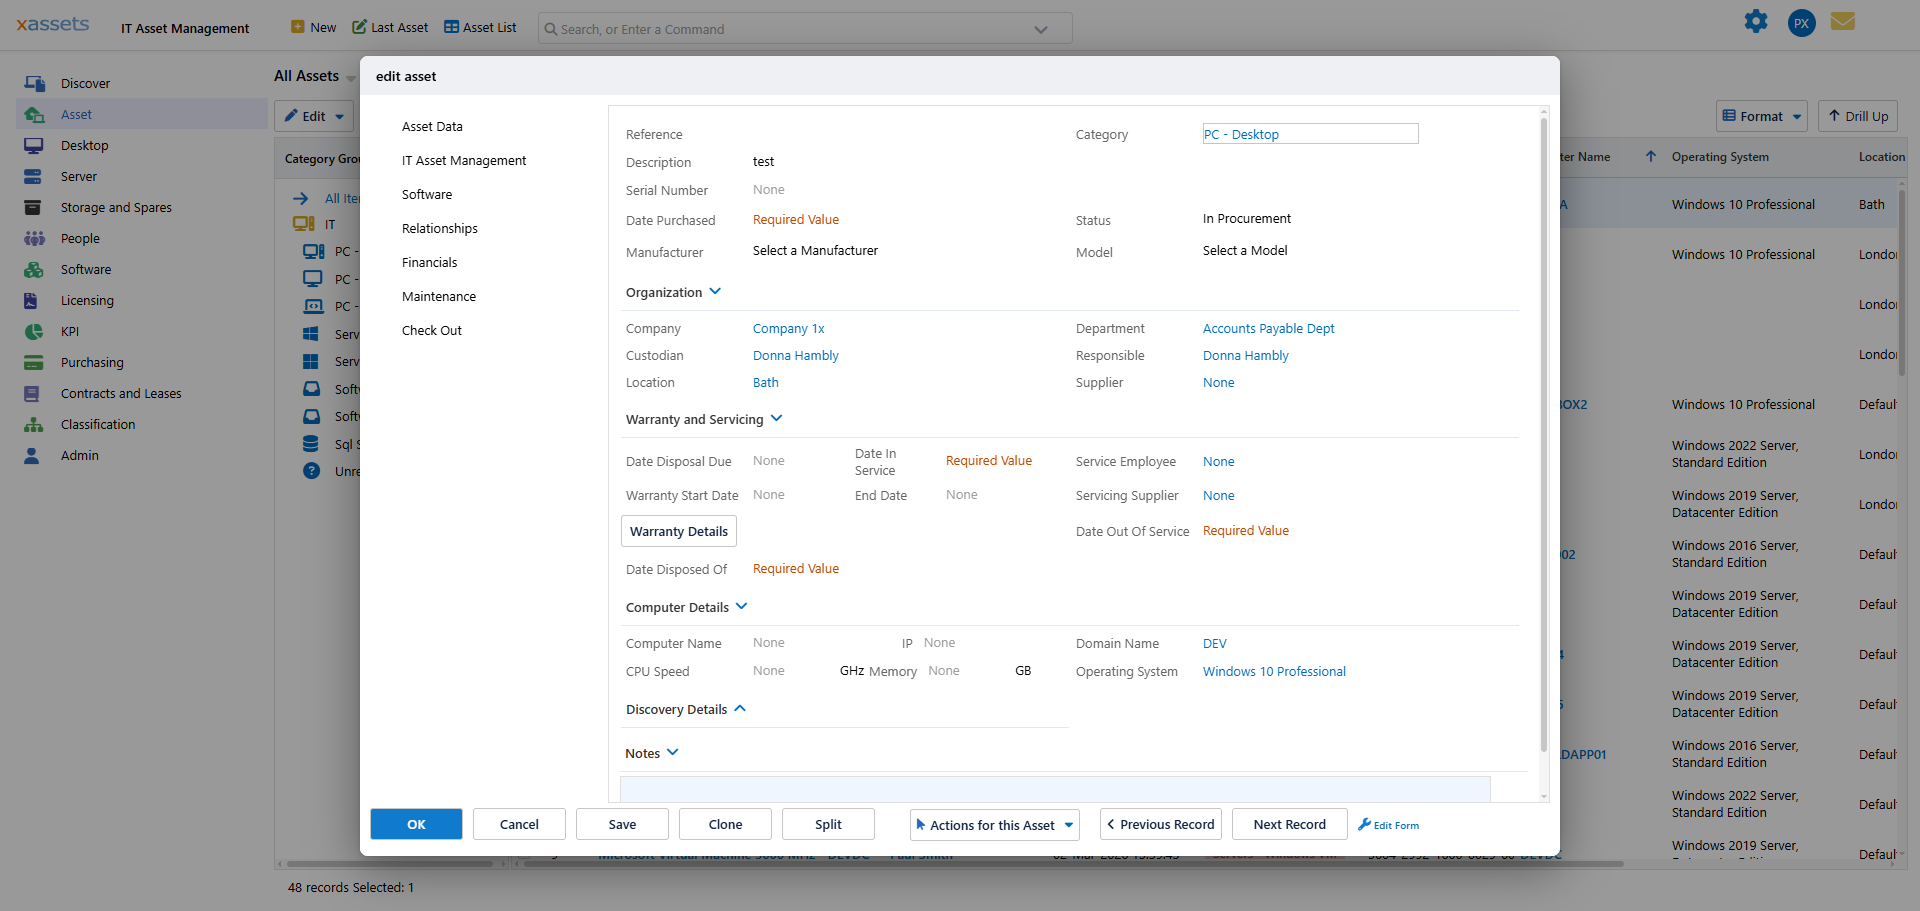
Editing Assets
The asset editing screen is where you view and modify all asset data. The form displayed varies by asset category -- a laptop shows different fields than a contract or software licence. This page covers the main editing controls and how to navigate the editing interface.
Opening an Asset
From any results screen, click the blue description link on an asset record to open the editing screen.
Editing and Saving
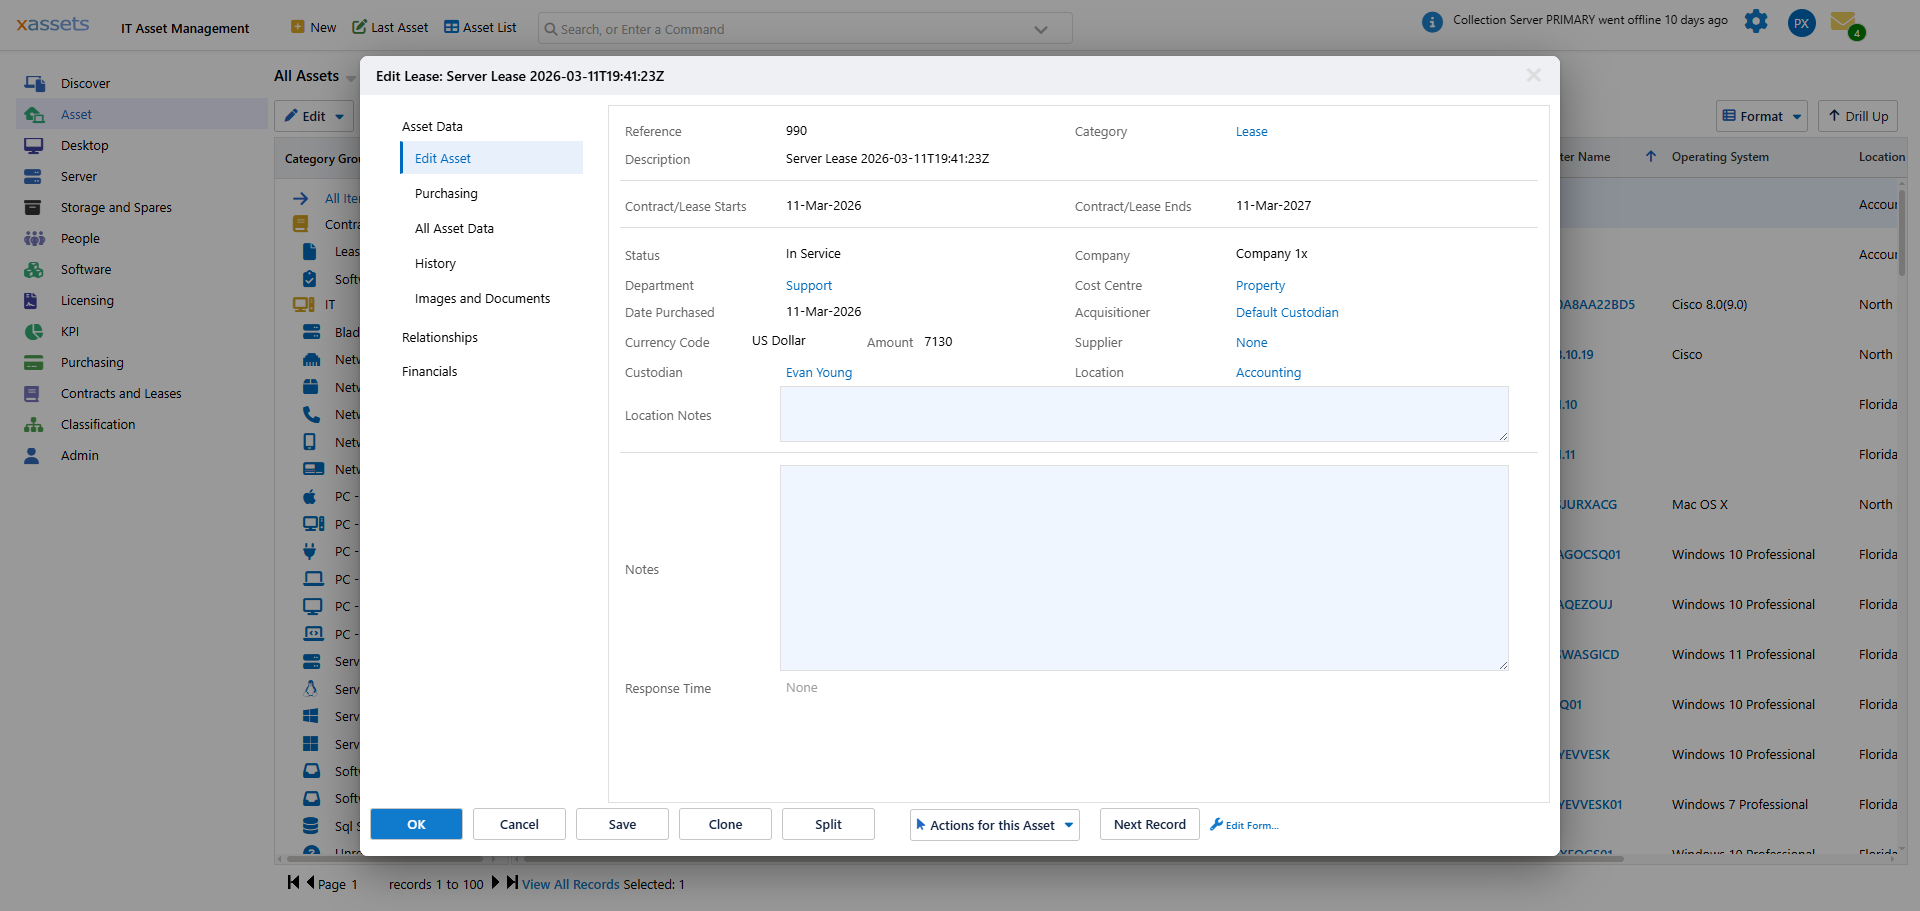
Make the necessary changes and click OK to save. You can also click any tab on the left side of the screen, which automatically saves the current tab before navigating to the new one.
Tip: You do not need to click OK before switching tabs. The system saves the current tab automatically when you navigate to another tab. Click OK when you are finished editing and want to close the editing screen.
Asset Actions
Click Action for this Asset to access additional operations for the currently open asset:

Available actions typically include:
| Action | What It Does |
|---|---|
| Dispose | Mark the asset as disposed (sold, lost, stolen). See Disposal. |
| Transfer | Move the asset to a different location, department, or company. See Transfers. |
| Clone | Create a new asset with the same field values. See Creating Asset Records. |
| Split | Divide a multi-quantity asset into separate records. See Creating Asset Records. |
| Generate a printable view or PDF of the asset record. |
Tabs and Specification Data
Discovery collects many attributes per asset, and some are multi-valued (e.g., installed software, memory modules). These are organised into tabs on the left side of the editing screen.
The Specification Data tab shows all fields created through User Defined Specification Data configuration, including most fields populated by discovery:

Common tabs for a discovered computer include:
- Edit Asset -- the main form with core fields (reference, category, description, location, custodian)
- IT Details -- computer-specific fields (OS, CPU, memory, disk)
- Financial -- purchase cost, net book value, depreciation
- Custom -- custom specification data fields
- History -- a log of all changes made to this asset
- Images and Documents -- attached files and photographs
- Related Assets -- parent-child relationships
- Software Titles -- discovered software installations
Administrators can configure forms to add or remove fields, and create additional tabs to suit the installation. See the Configuration Guide for details.
Editing Lookup and Classification Fields
Reference data and classification fields use lookup dialogs. To change a lookup field:
- Click the blue or red link next to the field name.

- A lookup dialog opens showing the available values:

- Select a value from the list. The selection is displayed in the bottom panel of the dialog.
- Click OK to apply the selection.
To create a new value from within the lookup dialog, click the New... button (e.g., "New Custodian...", "New Location..."):

This allows you to add new reference data without leaving the asset editing screen.
Tip: Dropdown fields (as opposed to lookup fields) display their options directly in a select list. Click the dropdown to see the available values and select one. Dropdowns are used for fields with a small, fixed set of values (e.g., Status, Importance Rating).
Tip: Fields displayed with a red link instead of a blue link typically indicate a required field or a field that currently has no value. Set a value to change the link to blue.
Related Articles
- Finding Assets — locating assets to edit
- Creating Asset Records — creating new asset records
- Bulk Update — editing multiple assets at once
- Attaching Images and Documents — attaching files to assets
- Parent Child Relationships — the Related Assets tab