Upgrade Licences
When you purchase an upgrade to a software product (e.g., upgrading from Microsoft Office 2019 to Microsoft Office 2021), the licence records in xAssets must be updated to reflect the change. This page explains the correct process for recording upgrades so that licensing reports remain accurate.
How Upgrades Work in xAssets
An upgrade involves three actions:
- Create a new licence record for the upgraded product
- Split the original licence if only some seats are being upgraded
- Mark the upgraded portion as "Upgraded and Out of Service" so it no longer counts toward entitlement
This ensures that:
- The old licence seats are not double-counted
- The new licence is properly tracked
- The audit trail is preserved
Example: Upgrading 10 of 35 Microsoft Office Licences
In this scenario, you have "Microsoft Office Pro Plus 2010 -- 35 Seats" and are purchasing 10 "Microsoft Office Pro Plus 2016" upgrade licences.
Step 1: Create the New Upgrade Licence
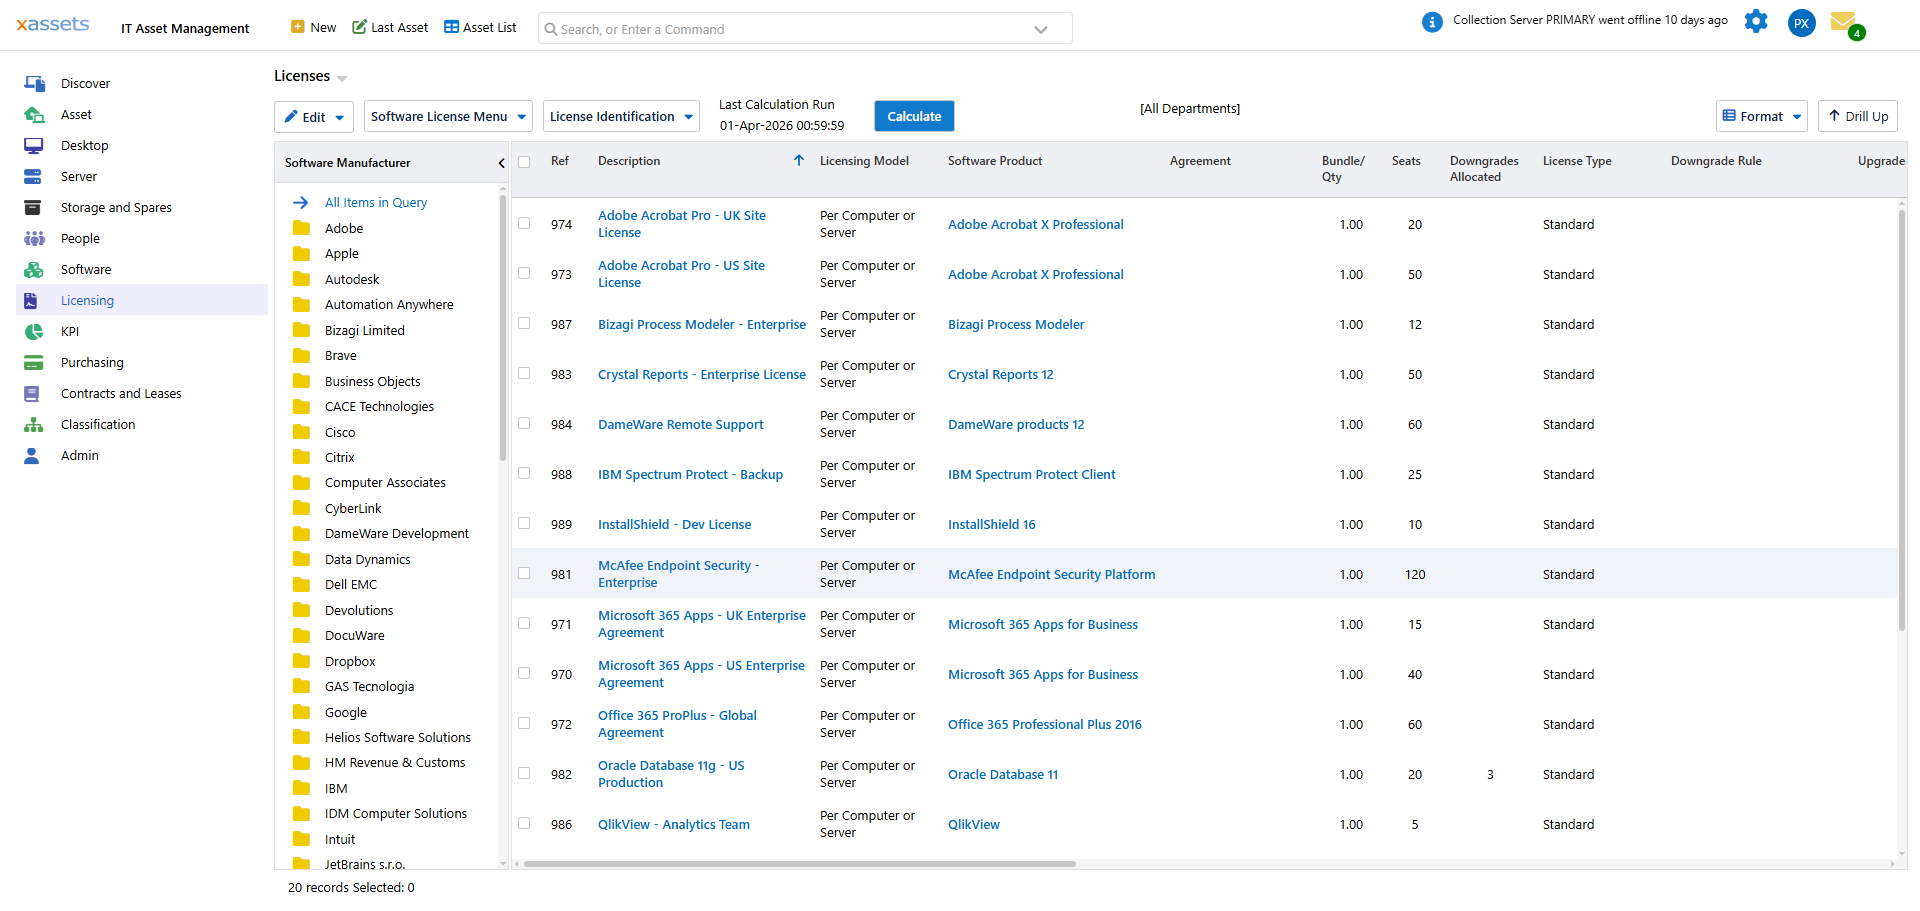
- Navigate to the Software Licence Asset Register from the License menu

- Create a new software licence record for "Microsoft Office Pro Plus 2016 -- 10 Seats"
- Enter the purchase details, seats, and software product
Step 2: Clone and Split the Original Licence
Since only 10 of the 35 original seats are being upgraded, you need to split the original licence into two records:
- Open the original "Microsoft Office Pro Plus 2010 -- 35 Seats" asset
- Click the Clone... button (or use the Actions for this Asset link)
- When prompted, choose Clone as a new Asset

Step 3: Mark the Upgraded Clone
- Edit the cloned record:
- Change the Description to indicate it was upgraded (e.g., "Microsoft Office Pro Plus 2010 -- 10 Seats (Upgraded to 2016)")
- Set the Quantity/Seats to 10
- Set the Status to "Upgraded and Out of Service"

- Save the record

Step 4: Adjust the Original Licence
- Edit the original licence record
- Change the seats from 35 to 25 (the remaining non-upgraded seats)
- Save the record
Step 5: Recalculate
After saving, you will receive a prompt with an option to recalculate the Licensing Position. It is recommended that you recalculate after changing licences to keep compliance data current.
After the Upgrade
You should now have three licence records:
| Record | Seats | Status | Purpose |
|---|---|---|---|
| Microsoft Office Pro Plus 2010 -- 25 Seats | 25 | In Service | Remaining original licences |
| Microsoft Office Pro Plus 2010 -- 10 Seats (Upgraded) | 10 | Upgraded and Out of Service | Audit trail for the upgraded seats |
| Microsoft Office Pro Plus 2016 -- 10 Seats | 10 | In Service | New upgrade licences |
Tips
- Always clone and split rather than simply reducing the seat count on the original -- this preserves the full history
- If any computers were assigned to the old licence, reassign them to the new licence after the upgrade
- The "Upgraded and Out of Service" status ensures the old seats do not count toward entitlement in compliance reports
- For full upgrades (all seats), you do not need to clone -- just change the original licence status to "Upgraded and Out of Service" and create the new licence
Related Articles
- Software Licences — creating and managing licence records
- Licensing Position — compliance reporting after upgrades
- Assigning Computers to a Licence — reassigning computers to upgrade licences