Creating Software Titles Manually
In most implementations, software titles, product catalog entries, and software-to-asset relationships are all created automatically by the "Load Now" process after a network discovery run or an integration (e.g., Microsoft Intune or SCCM). This page documents the manual creation process for situations where automatic loading is not an option.
Prefer the xAssets recognition service for commercial software. Recognition records you create locally do not flow back to other customers, and a future recognition update may classify the same title differently. For commercial software you cannot find in the recognition database, submit it via the Unrecognized Software workflow. Manual recognition is the right path for genuinely internal software (in-house tools, custom builds) or when discovery is not available at all.
When to Use Manual Creation
Manual creation is only necessary when:
- You need to track software that was not discovered (e.g., software on air-gapped machines)
- You are importing software data from a non-standard source that cannot be loaded through the discovery holding area
- You need to create license and compliance records before discovery data is available
- The software is genuinely internal and will never appear in the central recognition database
Tip: If you are importing software titles in bulk, the best approach is usually to import into the discovery holding area and then let the "Load Now" process handle recognition and record creation. Manual creation should be a last resort.
Understanding the Data Model
The system maintains three tables for software titles:
| Table | Contents | Usage |
|---|---|---|
| Installed Software | Titles found in "Programs and Features" (Add/Remove Programs) | Raw discovery data — input to recognition |
| Full Software | Titles found in EXE file headers | Raw discovery data — input to recognition |
| Software | System-calculated merge of both tables above | The recognized software table used in reports. Do not enter records directly — the load process may delete them. |
The correct method is to enter titles into the Installed Software or Full Software tables and allow the system to generate the records it needs.
Step-by-Step Manual Creation
Step 1: Create the Asset
The asset must be in a category that has a NetworkDiscoveryCode value filled in, and the code must not be "SW" (which denotes software product catalog template records).
- Click New Assets on the top bar of the page
- Fill in at least: Description, Category, and Date Purchased
- Save the asset
Step 2: Create an Installed Software Title
- Reopen the asset and navigate to the Specification Data tab
- Scroll down to the Installed Software section
- Add a new software title entry
- Click OK to save
This creates two records:
- The Installed Software Title record
- A link record associating this title with the asset
Step 3: Create a Recognition Record
Software titles are not used in licensing unless they are recognized. To create a recognition record:
- Edit the software title from the asset
- Click the Recognition button at the bottom of the editor

- Click Yes if a warning dialog appears
- Fill in the recognition record fields:
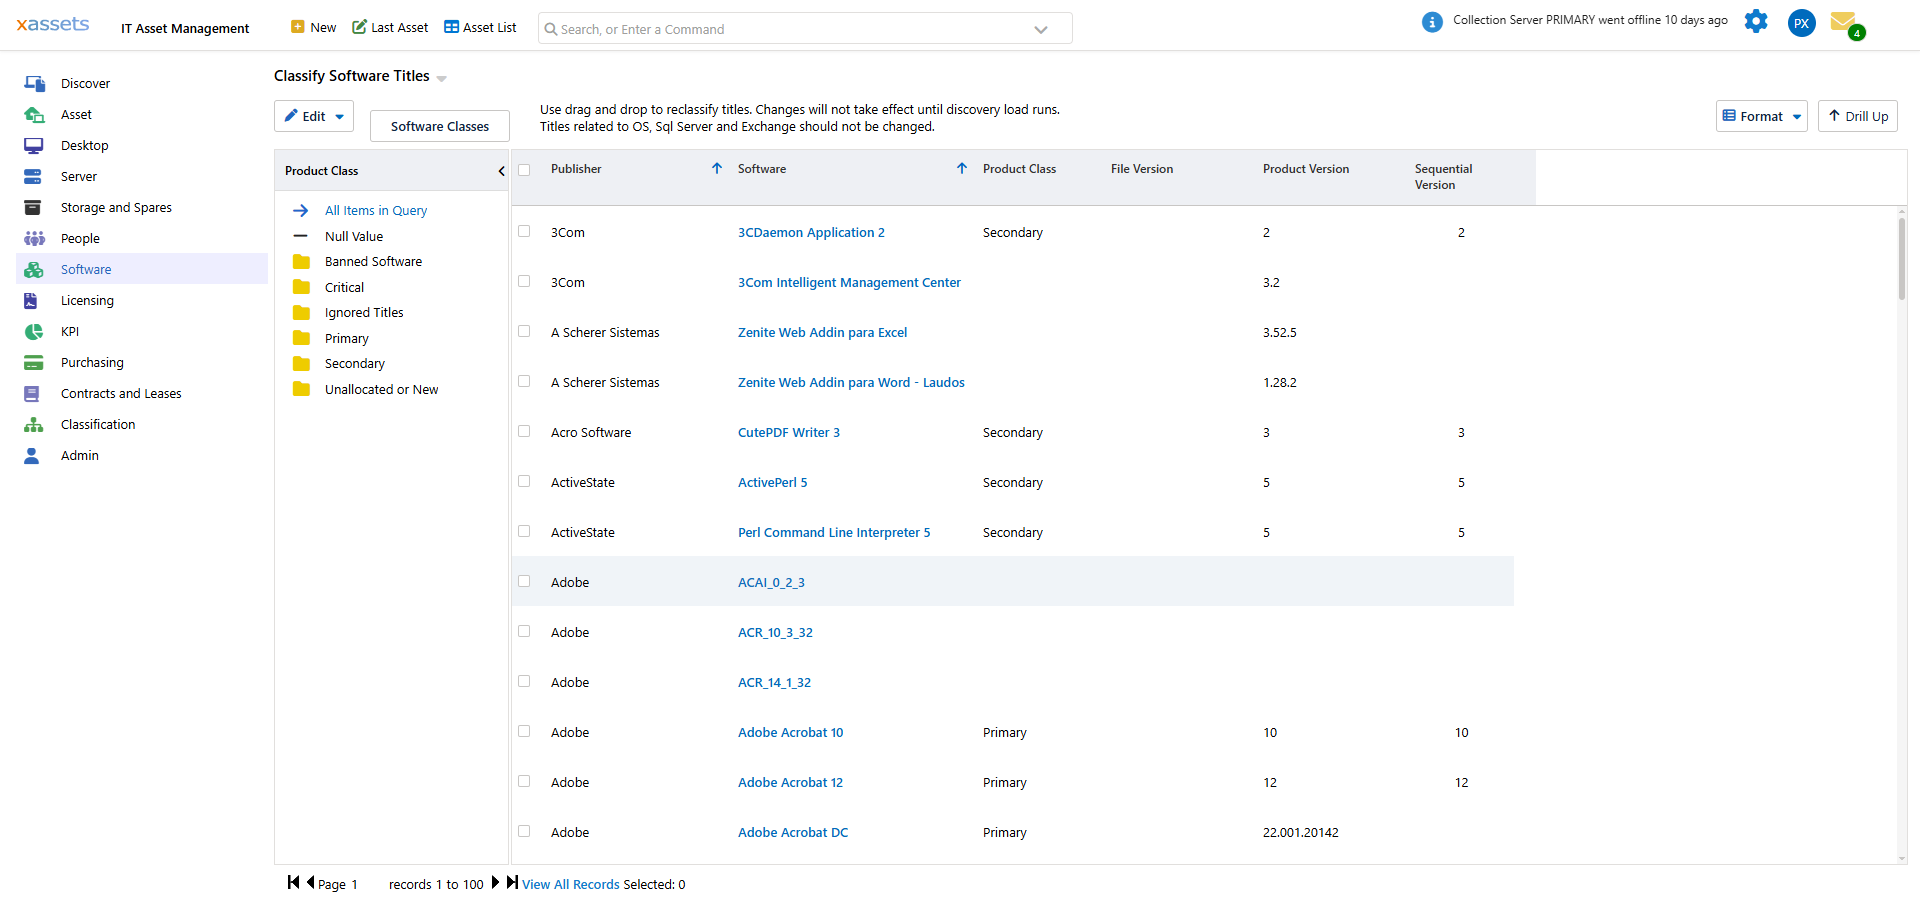
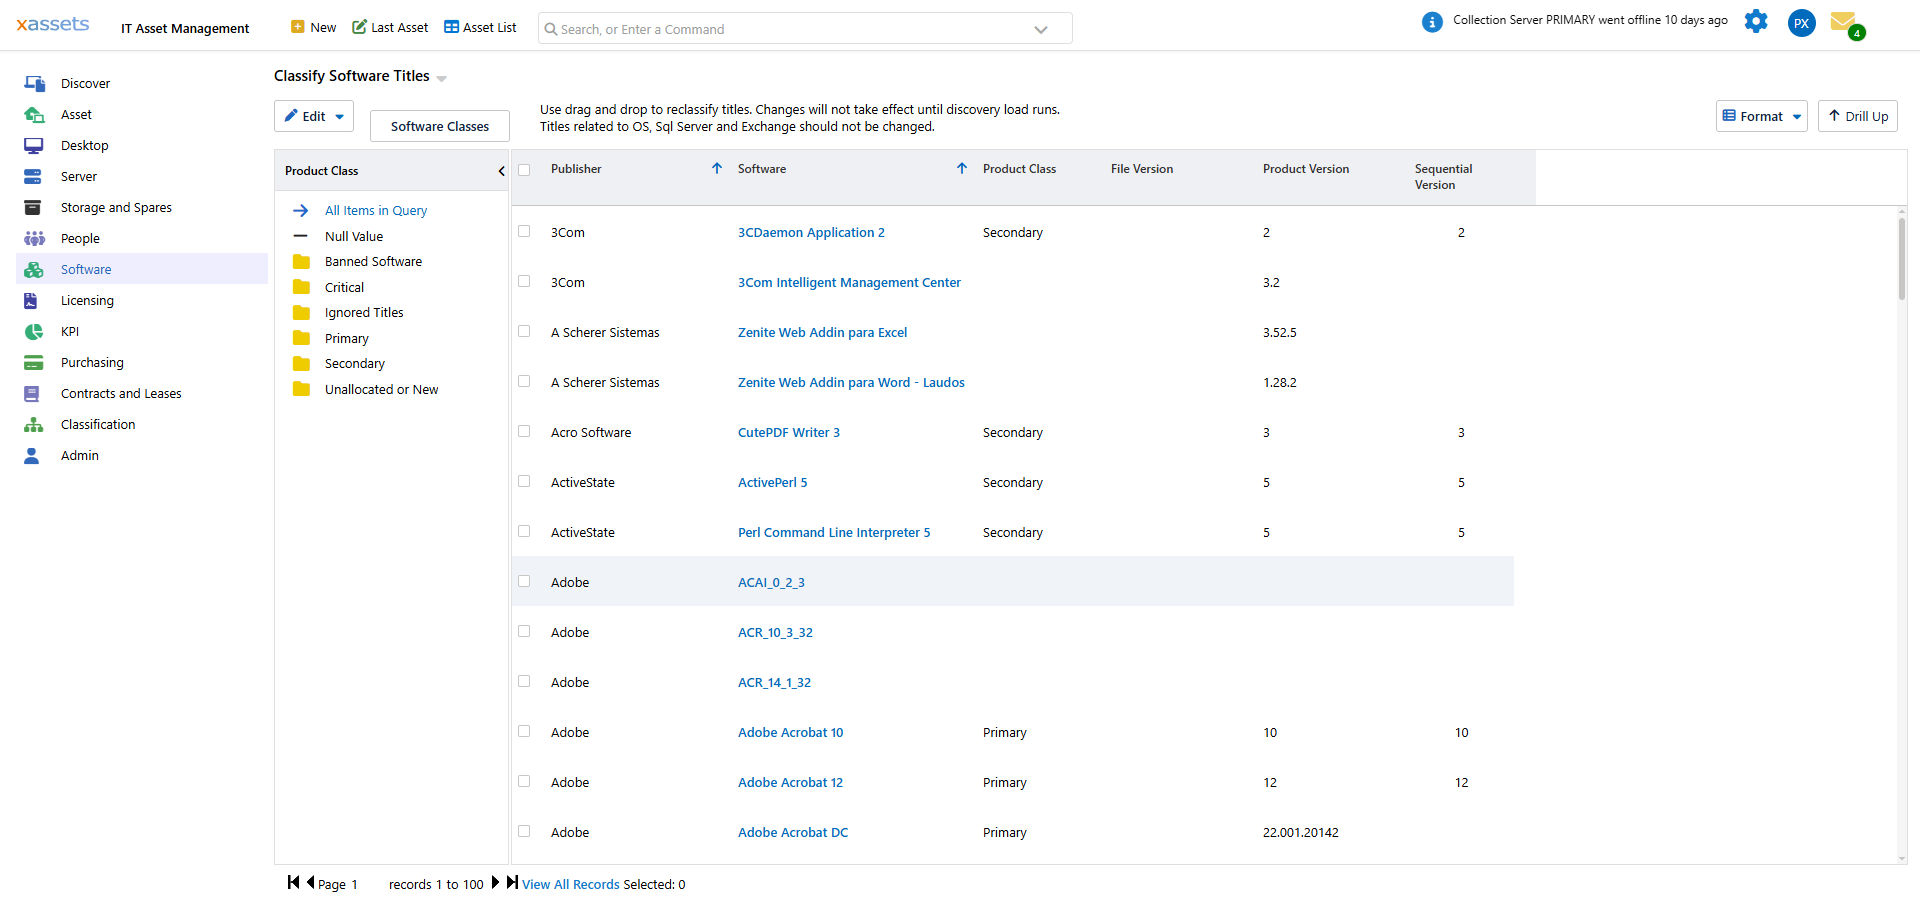
- Class — Primary, Secondary, Free, Banned, or Unknown. Must be Primary for the software to appear in the product catalog and be licensable.
- Version — the software version (used for downgrade evaluation and version-specific reporting)
- Type — a free-text classification used for grouping in reports (e.g., "Productivity", "Database", "Developer Tool"). Not engine-significant.
- Licensing — a flag indicating whether this title needs a license. Set to "Licensable" for paid products; "Not Licensable" for utilities, system components, free editions. Used together with Class to decide whether the title contributes to the licensing position.

- Save the recognition record
Step 4: Generate the Software Record and Product Catalog Entry
Although this can be done manually, the easiest method is to run the transformation named Load 900 - Software. This creates any missing software catalog entries for primary or licensable titles and generates the Software table based on what exists in Installed Software and Full Software.
- Navigate to the transformation
- Click Queue (not "Run") to submit it as a batch job — on larger databases this may take some time
- Wait for the batch job to complete
- The software title should now appear in Software License Management
Step 5: Create a Software License
- Open the Software License Management screen from the Software Licensing Menu
- Select the title you created

- Click New License
- Enter the number of seats purchased, a license class, and the date purchased
- Save the license record
Step 6: Calculate Licensing
- Use the Calculate button in the Software License Management screen to run the licensing calculation

- The calculation runs as a batch job
- When complete, the license should be fully allocated and appear in licensing reports
Things to Check
| Issue | Consequence | Fix |
|---|---|---|
| Entering records directly into the Software table | Records may be deleted by the next Load Now run | Use the Installed Software or Full Software tables instead |
| Recognition class not set to Primary | The title does not appear in the product catalog or licensing reports | Edit the recognition record and set the class to Primary |
| Asset category missing NetworkDiscoveryCode | The asset is not treated as a discoverable endpoint | Ensure the asset's category has a valid NetworkDiscoveryCode (not "SW") |
| Forgetting to run Load 900 | No product catalog entry is created | Queue the Load 900 transformation after creating recognition records |
Related Reading
- Software Catalog — the product catalog that manual titles feed into
- Software Licenses — creating license records
- Licensing Position — verifying compliance after manual creation
- Unrecognized Software — an alternative to manual recognition