Menu Categories
This page explains menu categories, which are the containers that organise menu items into logical groups within the xAssets interface. Every menu item must belong to exactly one menu category, and each menu category belongs to exactly one profile.
Prerequisites
You must have Configuration user group permissions to create or modify menu categories.
What Menu Categories Do
Menu categories serve two purposes:
- Organisation -- they group related menu items together under a named heading (e.g., "Asset Register", "Reports", "Admin").
- Placement -- the menu category's type determines where its menu items appear on the page (e.g., as a standard left-side menu, as query header/footer buttons, as dashboard content).
Managing Menu Categories
Navigate to Admin > Menus > Menu Categories to see the list:
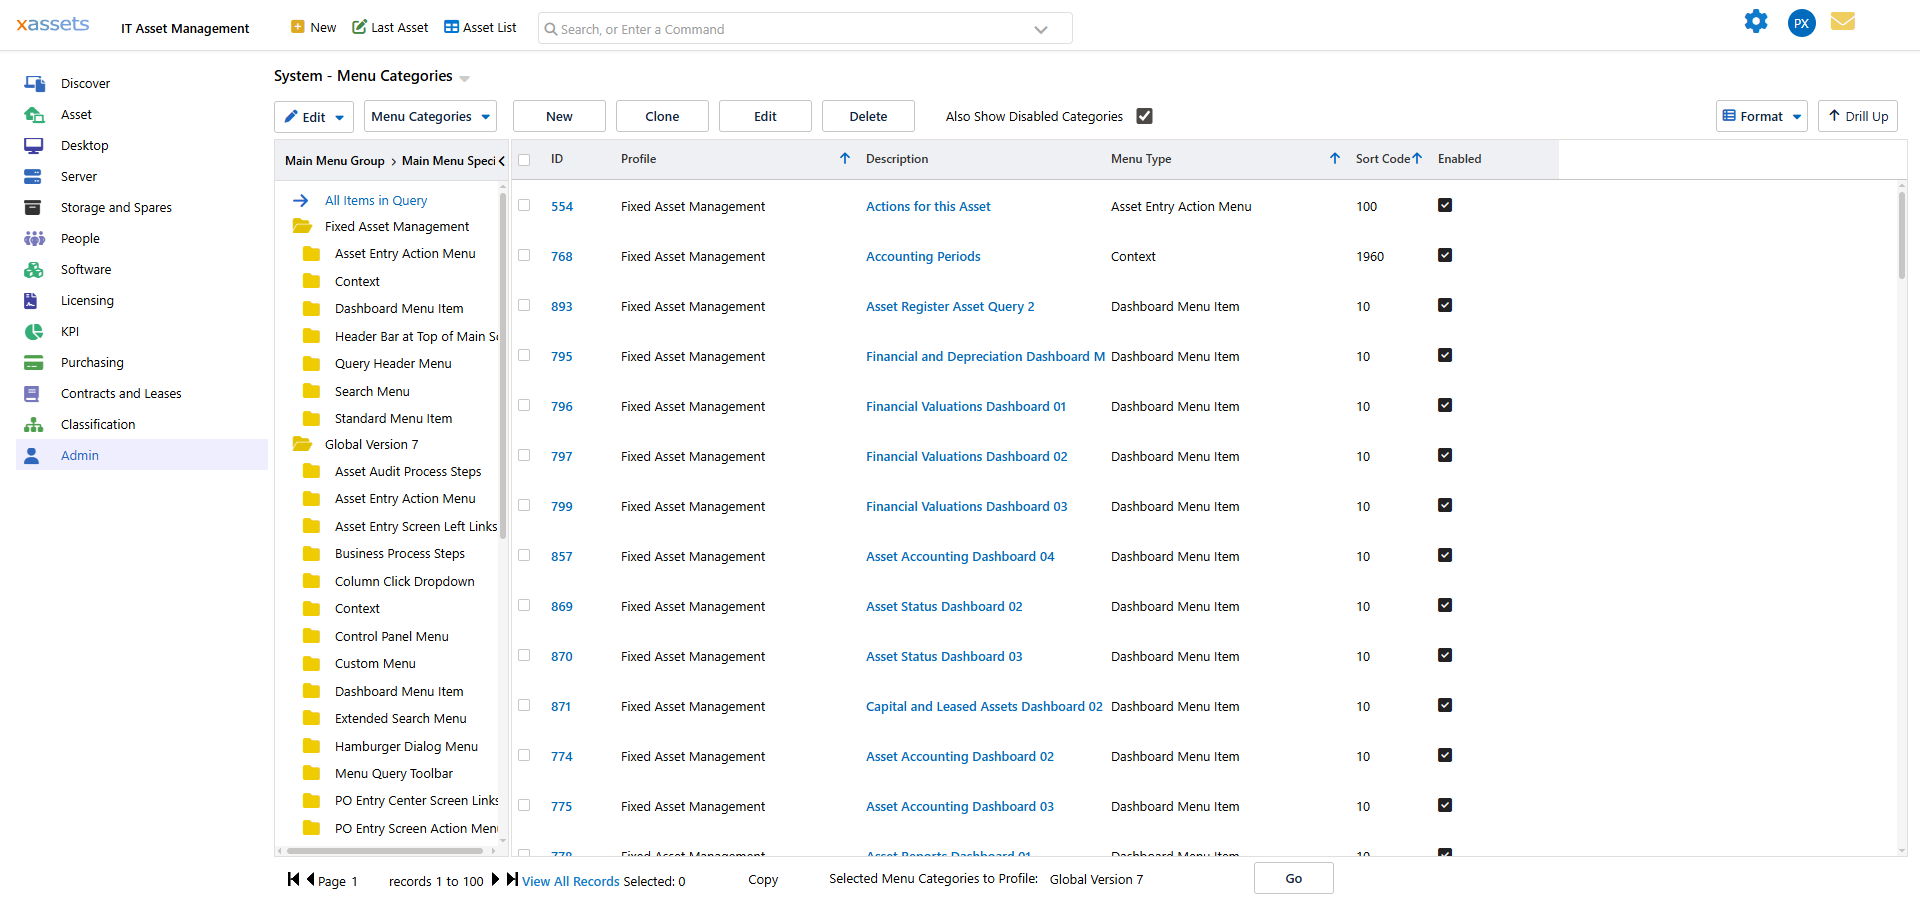
The tree on the left shows menu categories organised by profile and menu type. Use it to filter the list to categories in a specific profile or of a specific type.
Menu Category Operations
From the menu categories list you can:
- Create a new category using the
 button.
- Edit a category by clicking its name, or by selecting it and clicking
 .
.
- Find a category by clicking
 and searching in the Find dialog, then selecting it and clicking
  .
.
- Copy or move selected categories (including all their contained menus) to another profile.
- Disable a category to hide it without deleting it. Use the "Also Show Disabled Categories" option to see disabled categories in the list.
- Delete a category. This also deletes all menu items it contains.
Warning: Deleting a menu category permanently removes it and all its contained menu items. Consider disabling it instead if you may need to restore it later.
Viewing Menus Within a Category
To see the menu items inside a specific category:
- Select the category in the list.
- From the Menu Categories menu above the list, choose Show Menus in this Menu Category.
This filters the Menus list to show only items in the selected category:
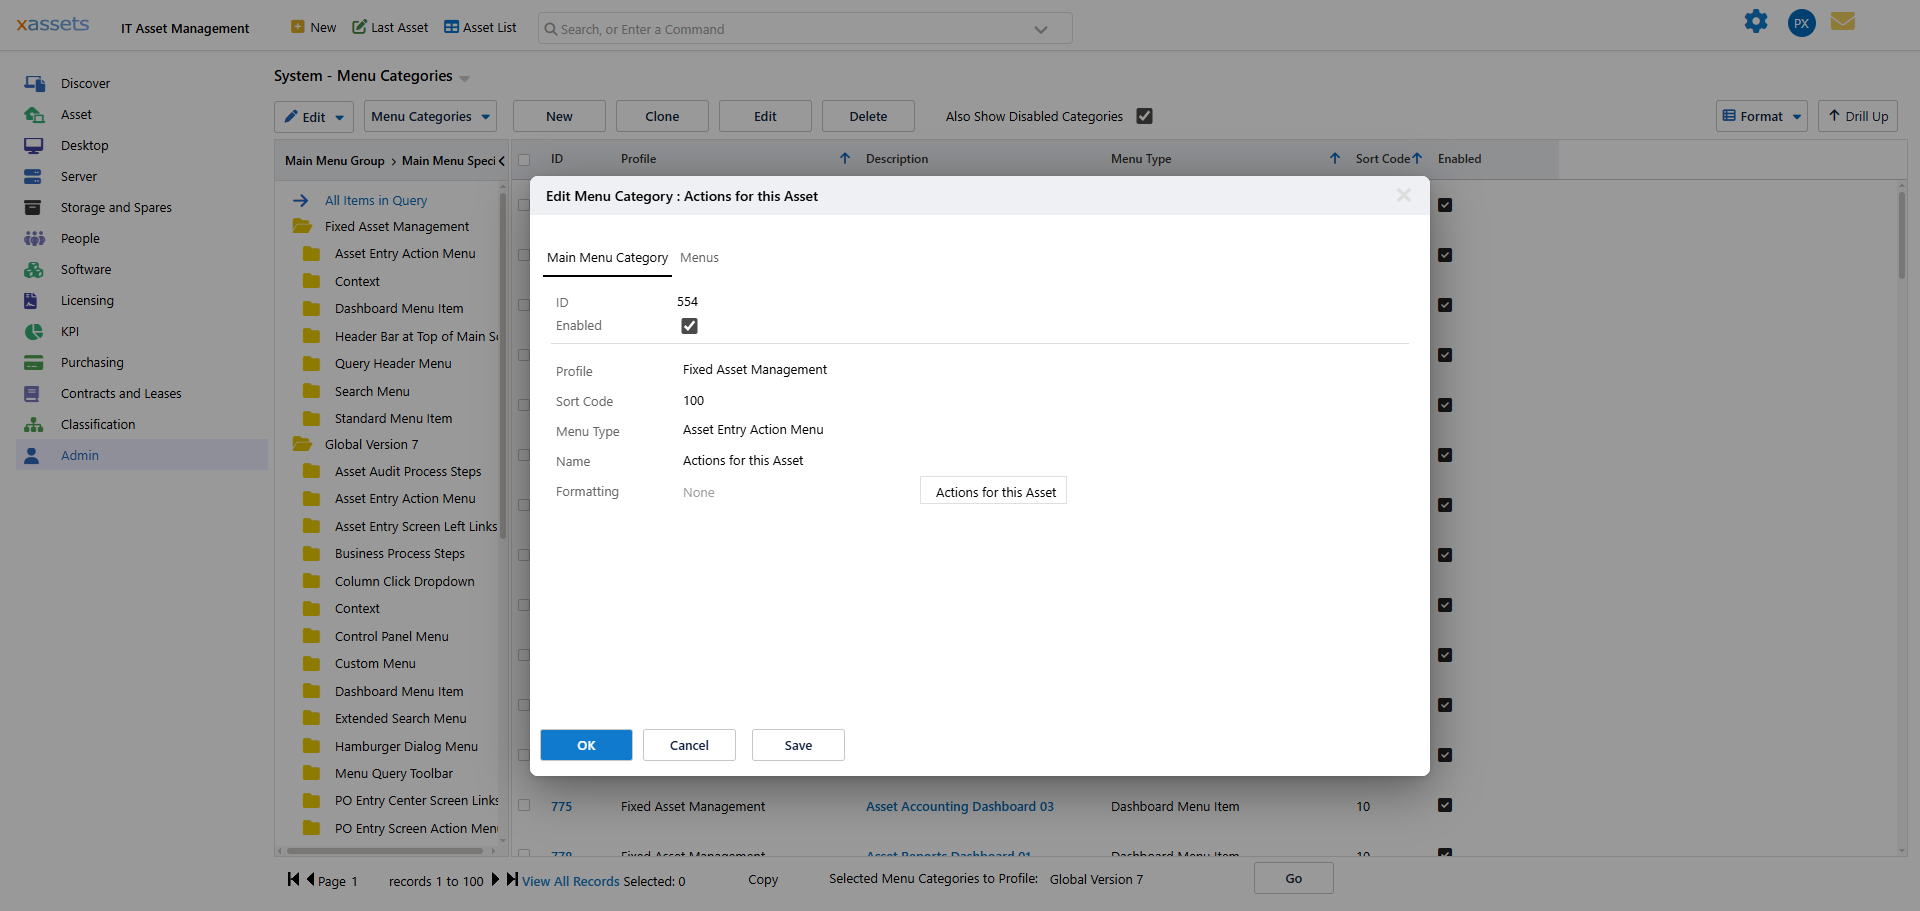
Alternatively, edit the category and use the Menus tab in the editor to view and manage its contained menus.
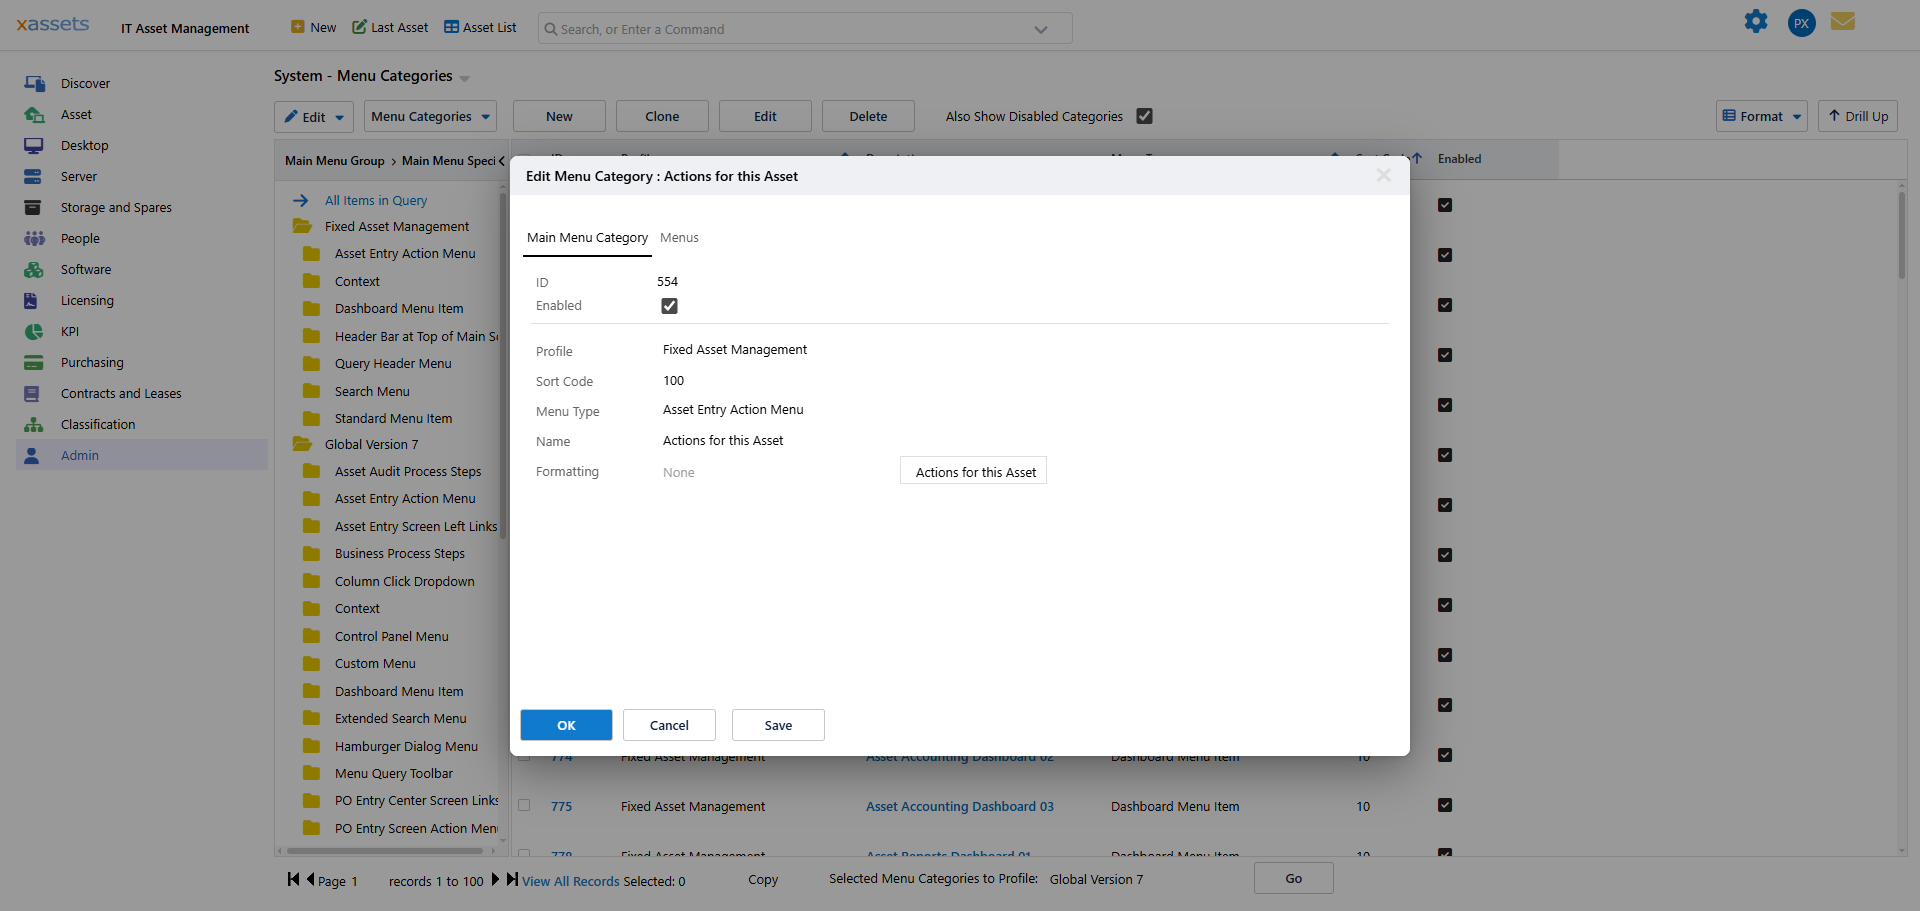
Menu Category Editor
| Field | Description |
|---|---|
| ID | A unique number generated by the system. Cannot be changed. |
| Enabled | Whether the category and its menus are visible. Disabled categories are hidden from users but retained in the database. |
| Profile | The profile this category belongs to. Menu items in this category are only visible when the user is in this profile (unless assigned to the Global profile, which is visible in all profiles). |
| Sort Code | A numeric value that controls the display order relative to other categories of the same type in the same profile. Lower values appear first. |
| Menu Type | Determines where the category's menu items are displayed on the page. See the Menu Types table below. |
| Name | The display name for the category. For Standard Menus and Query Header/Footer menus, this name appears as the group heading. |
Menu Types
The menu type determines how and where a category's menu items are rendered:
| Menu Type | Where It Appears |
|---|---|
| Standard Menu | The left-side navigation menu on the main page |
| Dashboard | The dashboard content area for a profile's home page |
| Query Header | Toolbar buttons above a query when it is displayed |
| Query Footer | Toolbar buttons below a query when it is displayed |
| KPI | The KPI row at the top of a dashboard page |
| Horizontal Menu | A horizontal menu bar across the top of a dashboard |
Creating a New Menu Category
- Navigate to Admin > Menus > Menu Categories.
- Click the New button.
- Select the Profile this category belongs to.
- Choose the Menu Type (Standard Menu, Dashboard, Query Header, etc.).
- Enter a Name for the category.
- Set the Sort Code to position it relative to other categories.
- Set Enabled to make it visible.
- Save.
- Add menu items to the category.
Note: A menu category will not be visible to users until it contains at least one enabled menu item, even if the category itself is enabled.
Tip: When building a new profile, copy an existing profile's menu categories rather than creating them from scratch. This gives you a working starting point that you can modify.
Related Articles
- Menus — creating and editing the menu items within categories
- Profiles — assigning categories to profiles
- KPI Configuration — configuring KPI-type menu categories
- Dashboards — configuring dashboard-type menu categories
- Menu Access — controlling which user groups can access menus in a category