User Groups
This page explains user groups, the primary mechanism for controlling what users can see and do in xAssets. Every user belongs to exactly one user group, and that group determines their permissions across the entire system.
Prerequisites
You must have Administrator or Configuration user group permissions to create or modify user groups.
What User Groups Control
A user's effective permissions are almost entirely determined by their user group:
- Which records they can see -- controlled by table permissions and record filters.
- Which menus they can access -- controlled by menu access settings.
- Which records they can create, update, or delete -- controlled by table-level insert, update, and delete permissions.
- Which asset editor forms they see -- controlled by asset editor form prefixes.
- Which administrative actions they can perform -- controlled by the database role.
Viewing User Groups
Navigate to Admin > Users > User Groups to see the list of all user groups:
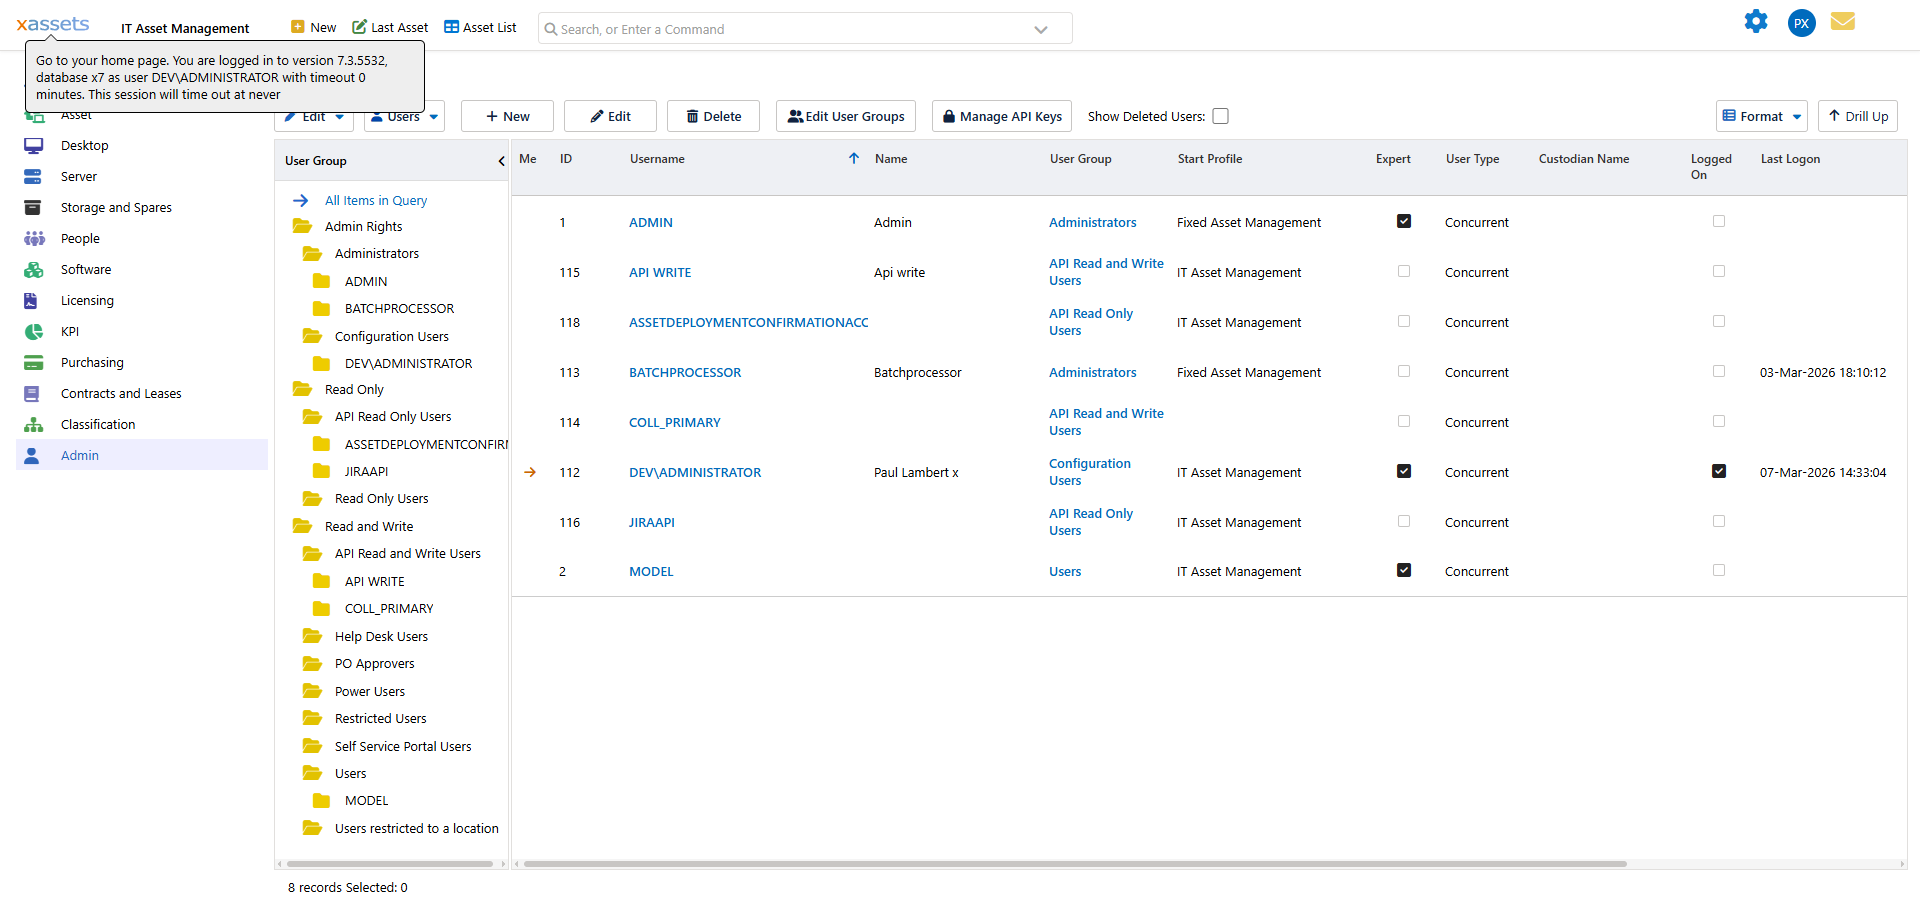
The list shows each group's code, description, database role, and the number of users in each group. Click a group name to edit it.
Database Roles
Each user group is assigned one of three database roles. The role sets the baseline level of database access for all users in that group:
| Role | Capabilities |
|---|---|
| READ | View data only. Users can modify a few system tables that track personal preferences (last asset viewed, current profile, last search query) but cannot change any business data. |
| WRITE | View and modify data in most tables. Users can create, edit, and delete records within the limits set by their table permissions. Cannot perform certain administrative tasks such as managing user accounts or modifying system configuration. |
| ADMIN | Full unrestricted access to all tables and all administrative functions. Use sparingly -- typically only for system administrators and the Configuration user group. |
Warning: The Administrator and Configuration user groups have elevated permissions that grant access to system-level settings. Exercise caution when moving users into or out of these groups -- the system will display a warning when you do so.
Standard User Group Setup
A typical xAssets deployment includes the following user groups:
| Group | Role | Purpose |
|---|---|---|
| Configuration | ADMIN | System administrators who configure forms, queries, menus, and transformations |
| Administrator | ADMIN | Day-to-day administrators who manage users, run imports, and oversee data quality |
| Standard User | WRITE | Regular users who create and edit asset records |
| Read Only | READ | Users who can view data and run queries but cannot make changes |
| Self-Service | READ or WRITE | End users with limited menu access for tasks like reporting issues or viewing their own assets |
You can create as many user groups as needed. For example, separate groups for different departments or regions, each with tailored menu access and record filters.
Creating a New User Group
- Navigate to Admin > Users > User Groups.
- Click the New button to open the User Group Editor.
- Enter a User Group Code (a short unique identifier).
- Enter a Description (the display name for the group).
- Select the Database Role (Read, Write, or Admin).
- Optionally set an Asset Editor Form Prefix if this group needs customised asset editor forms.
- Save the user group.
- Configure menu access and table permissions for the new group.
Tip: When creating a new user group, the quickest approach is to copy the menu access settings from an existing similar group (using the copy option on the Menu Access tab) and then adjust the differences.
Related Articles
- Editing a User Group — detailed field reference for the user group editor
- Menu Access — controlling which menus each group can see
- Table Permissions — controlling table-level read/write access and record filters
- Asset Editor Forms — customising the asset editor for specific groups
- Users — assigning users to groups