Tasks
The Service Management module provides incident management, problem management, and change request tracking for your IT assets. Use the Service Management icon in the left-hand navigation to access the dashboard and all service-related activities.
Overview
Service Management integrates tightly with the asset register, so incidents, problems, and change requests are always linked to the assets they affect. This gives you a complete picture of each asset's service history alongside its hardware, software, and financial data.
Note: The Service Management module is toggleable -- it can be enabled or disabled via the settings icon (top right of the screen). Some organisations do not use it if they already have a separate service desk tool.
The Service Management Menu
Click the Service Management icon in the left-hand navigation to open its menu:
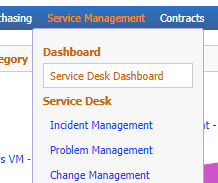
From here you can reach the dashboard, each of the service management work areas (incidents, problems, changes, releases, returns), and Service Data, which holds the lookups used to configure the module (Service Types, Service Status Settings, Service Priority, Standard Problem, Service Settings).
Service Desk Dashboard
Service Management > Service Desk Dashboard is the starting point for reviewing service activity. It has two tabs, Service Desk Dashboard and Incident Statistics:
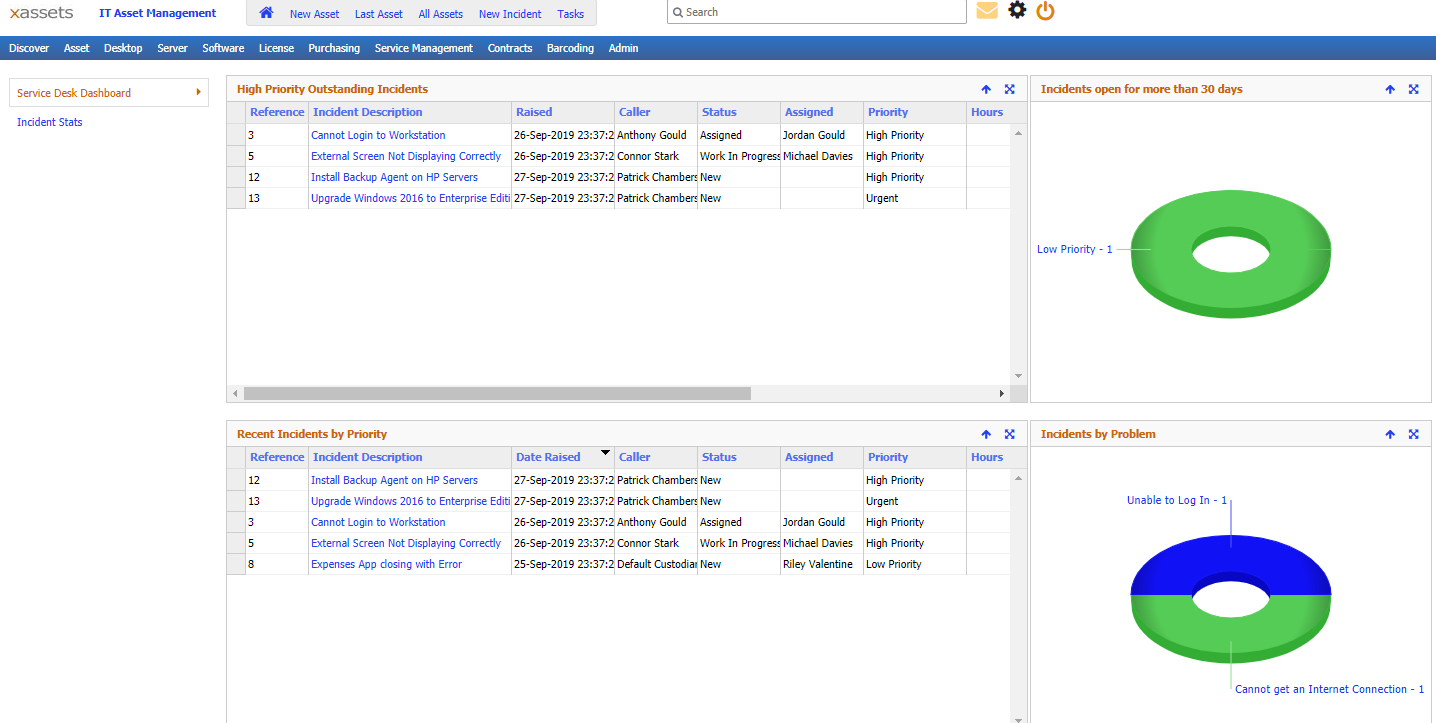
The dashboard panels are: Incidents by Problem, High Priority Outstanding Incidents, Incidents open for more than 30 days, and Recent Incidents by Priority. Each panel shows "No data" until incidents exist and match its criteria.
Viewing Outstanding Incidents
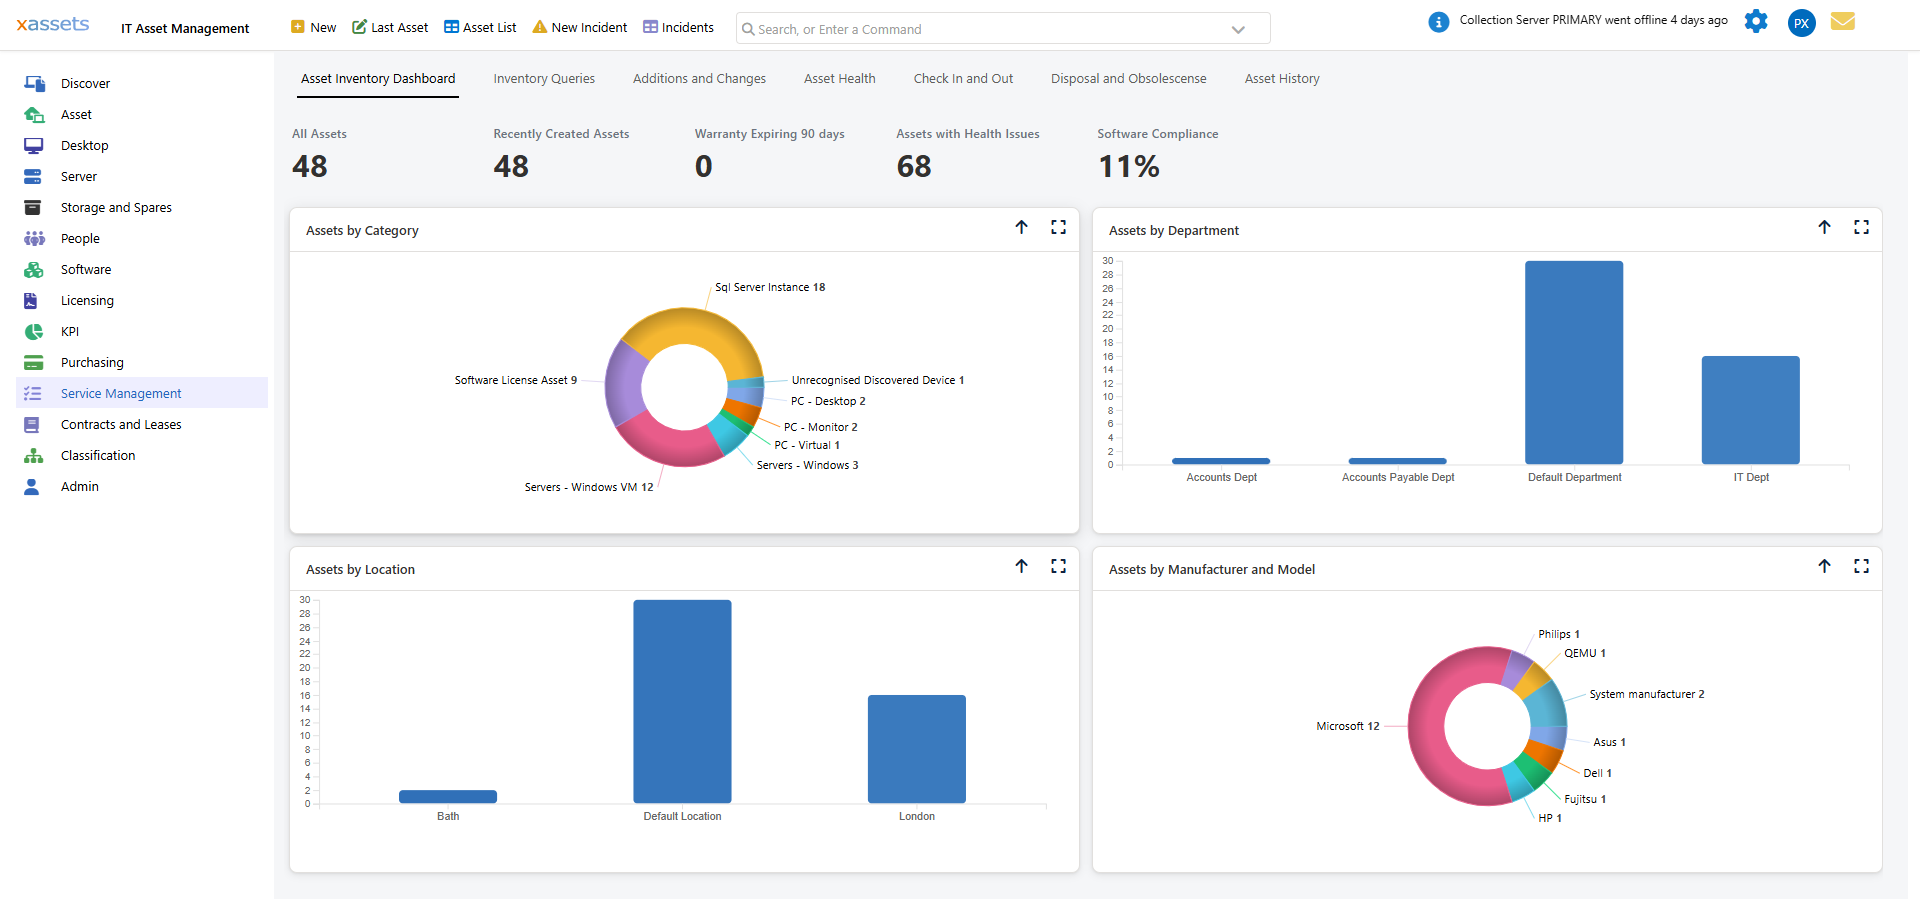
Navigate to Service Management > Incident Management to see the list of incidents:
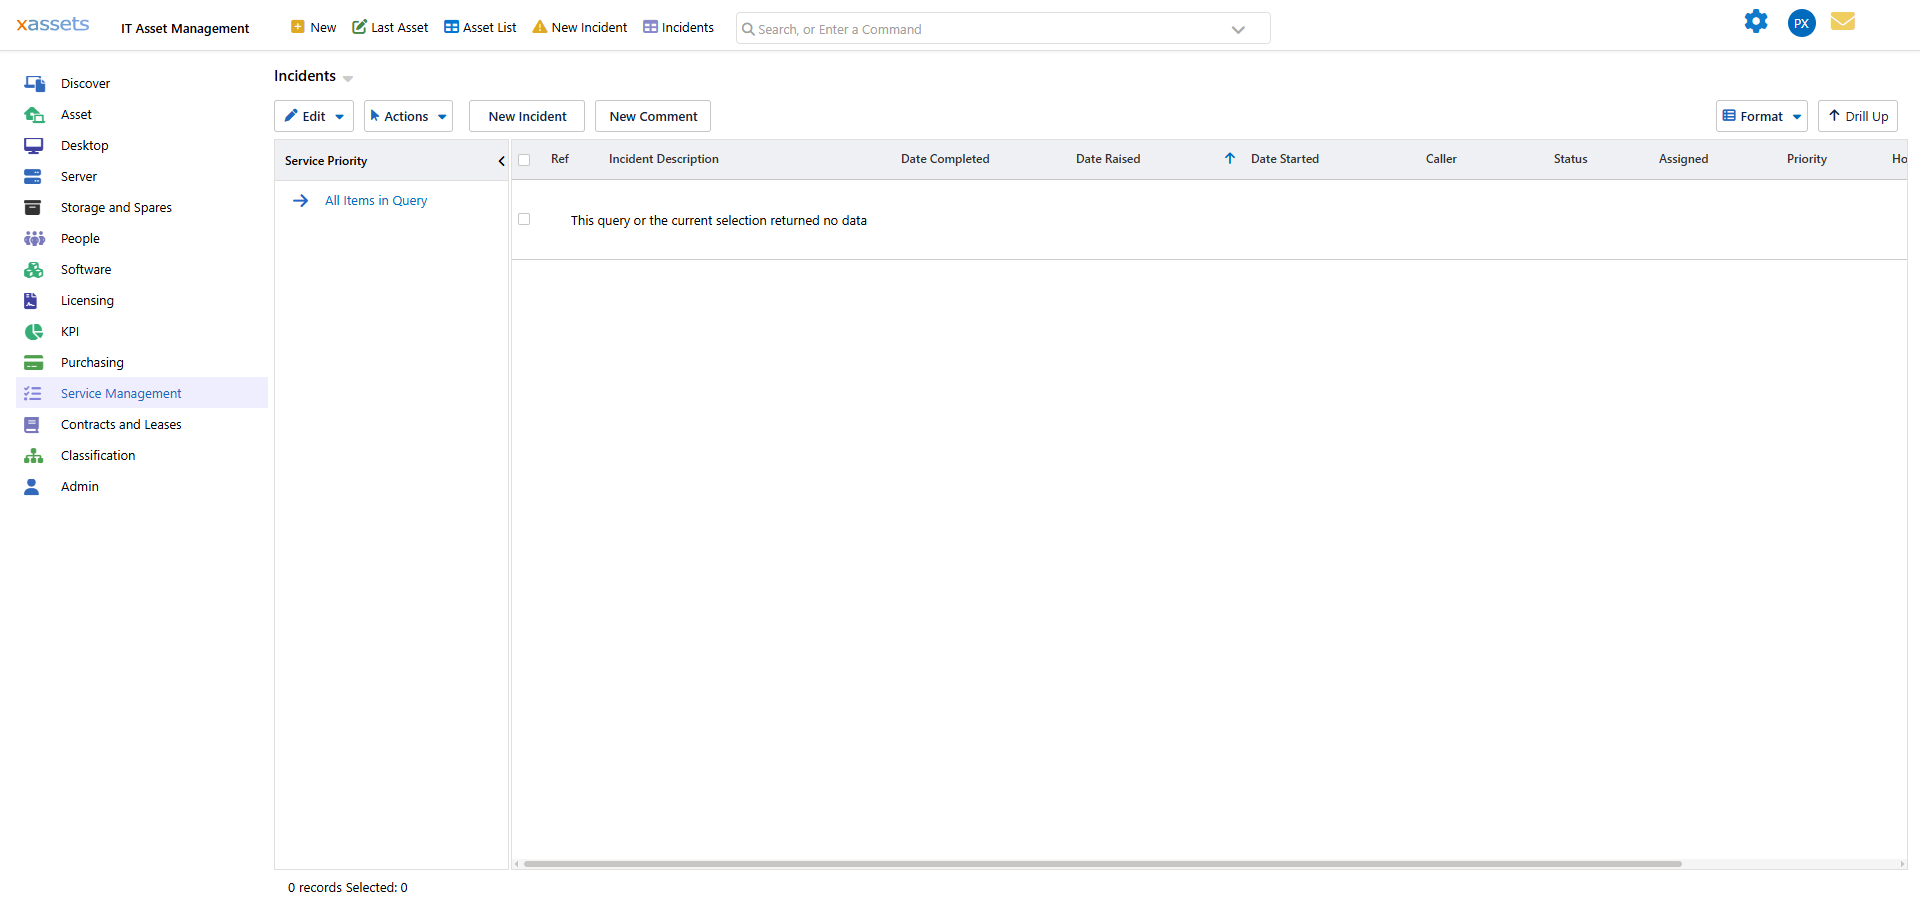
The left-hand tree groups incidents by Service Priority. Click the description of any entry to open it in the Incident editor, or click New Incident on the toolbar to raise one.
Raising and Editing an Incident
Click New Incident (or open an existing entry) to work with an incident. The main Edit Incident page holds the core fields:
Key fields:
| Field | Purpose |
|---|---|
| Description | Required; summarises the incident |
| Caller | The person who reported the incident |
| Asset(s) / Add Caller's Assets | Link the affected asset(s) -- All links every asset owned by the caller, Selected... lets you pick specific ones |
| Priority | Low Priority, Medium Priority, High Priority, Urgent, or Business Critical |
| Assigned To / Contractor | Who is actioning the incident |
| Standard Problem | Links the incident to a known/standard problem |
| Status | New, In Progress, Closed, etc. |
Once you Save the incident, further tabs become available down the left side of the editor:
- Incident Data: Edit Incident, Notes, Servicing, Images and Documents
- Reports: Task Report
- Relationships: Sub Tasks, Related Incident, Assets
- Similar: Tasks for the same Assets, Tasks from the same Caller, Tasks for the same Assignee, Incidents with the same Standard Problem
- Incident Updates: Comments
Related Assets
The Relationships > Assets tab lists the assets linked to the incident (in addition to any added via Add Caller's Assets when it was raised).
Comments
Use Incident Updates > Comments to log notes and updates against the incident as work progresses:
Priority
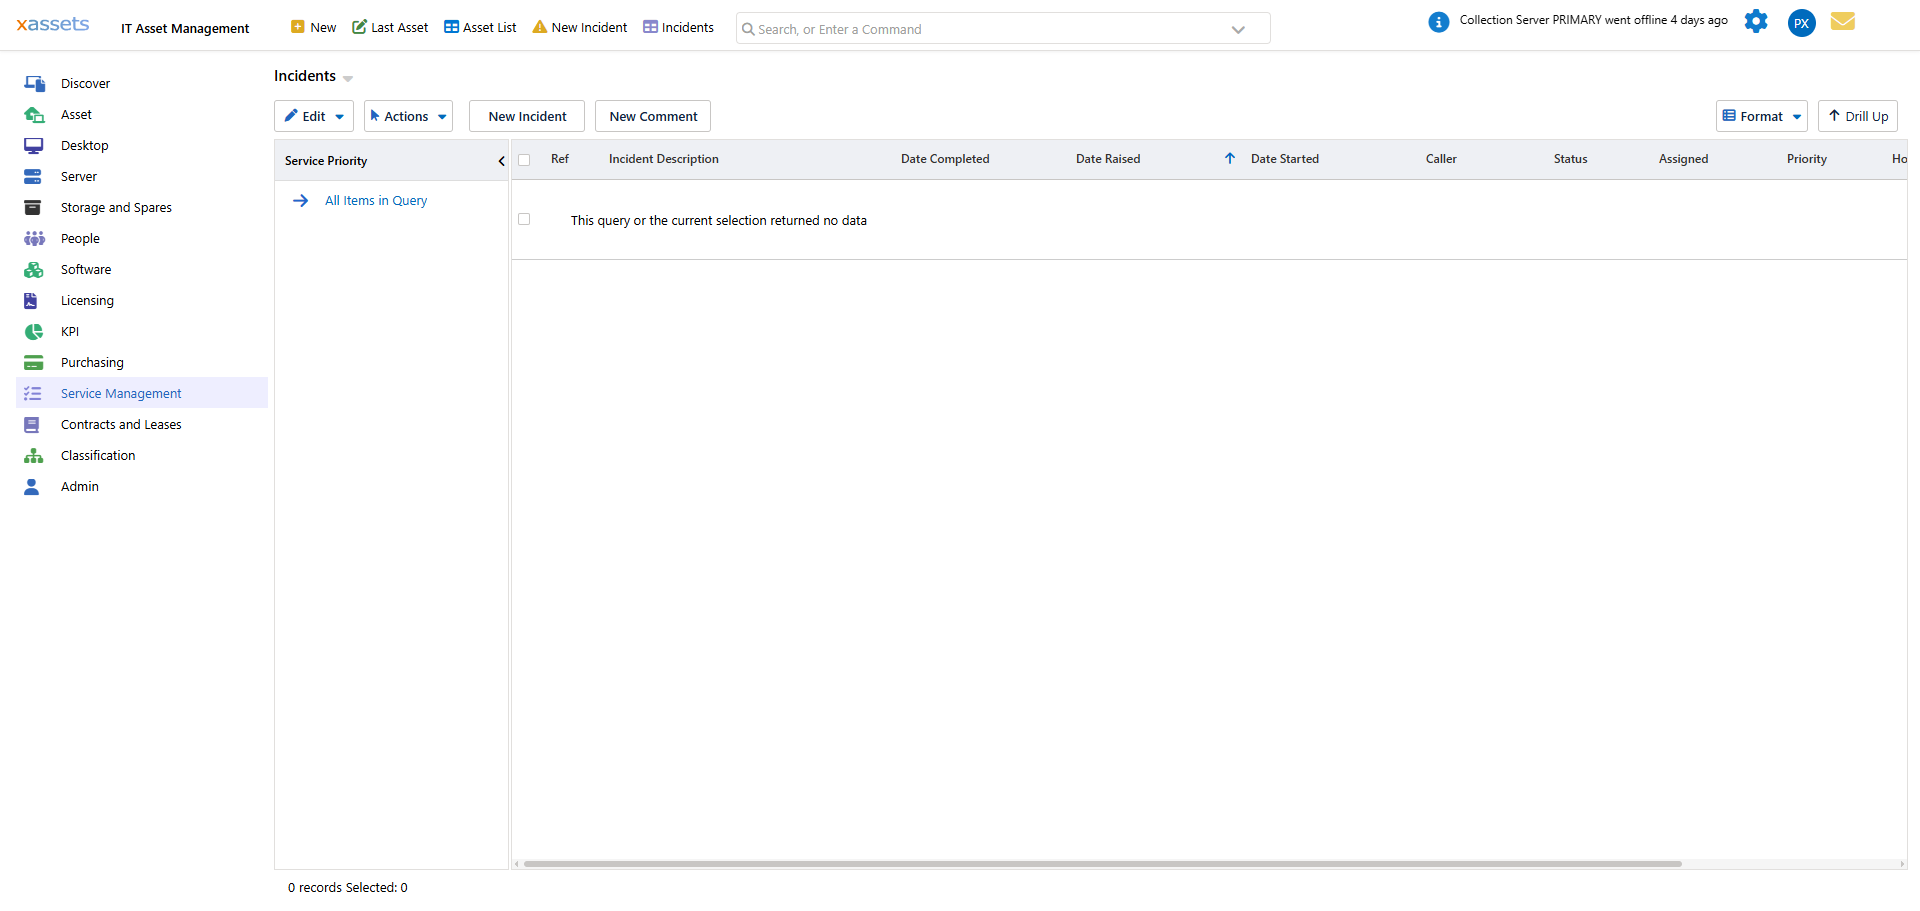
Each incident has a priority level, set on the Edit Incident page, that determines the order in which it should be worked. The Incident Management list can be reviewed alongside its Priority column to triage outstanding work:
Configuring Priority Levels
To manage the priority list, navigate to Service Management > Service Data > Service Priority:

Select a priority level to view or Edit it, or click New... to add one. The Service Priority Sort Code determines the criticality ranking -- higher values indicate higher priority. Confirmed default (from the live lookup): Business Critical = 5000; the lower levels (Low Priority, Medium Priority, High Priority, Urgent) use smaller sort codes in ascending order.
Key Actions
| Action | How |
|---|---|
| Raise an incident | Click New Incident from Incident Management, fill in Description and the other fields, then Save |
| Assign an incident | Set Assigned To (and Contractor, if used) on the Edit Incident page |
| Set priority | Choose a Priority value on the Edit Incident page |
| Link assets | Use Add Caller's Assets when raising the incident, or Relationships > Assets afterwards |
| Record progress | Add entries under Incident Updates > Comments |
| Find related incidents | Use the Similar tab (same assets, same caller, same assignee, or same Standard Problem) |
| Close an incident | Set Status to Closed, or use the relevant option on the Service Entry Action Menu, then Save |
The Similar tab is particularly useful for identifying recurring problems that may need deeper investigation rather than a quick fix.
Chapter Structure
| Page | What It Covers |
|---|---|
| Adding New Incidents | Three methods for creating incident records |
| Completed Incidents | Reviewing resolved incidents for audit and analysis |
| Problems | Root-cause tracking that links multiple incidents |
| Change Requests | Formal change management with sub-tasks |
Related Articles
- Email Notifications - automated alerts for service desk activity